
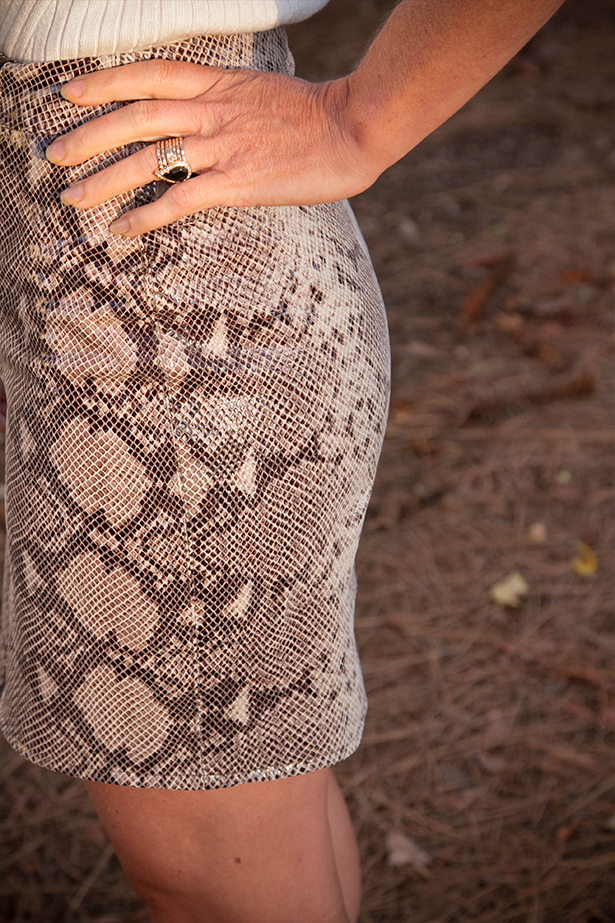
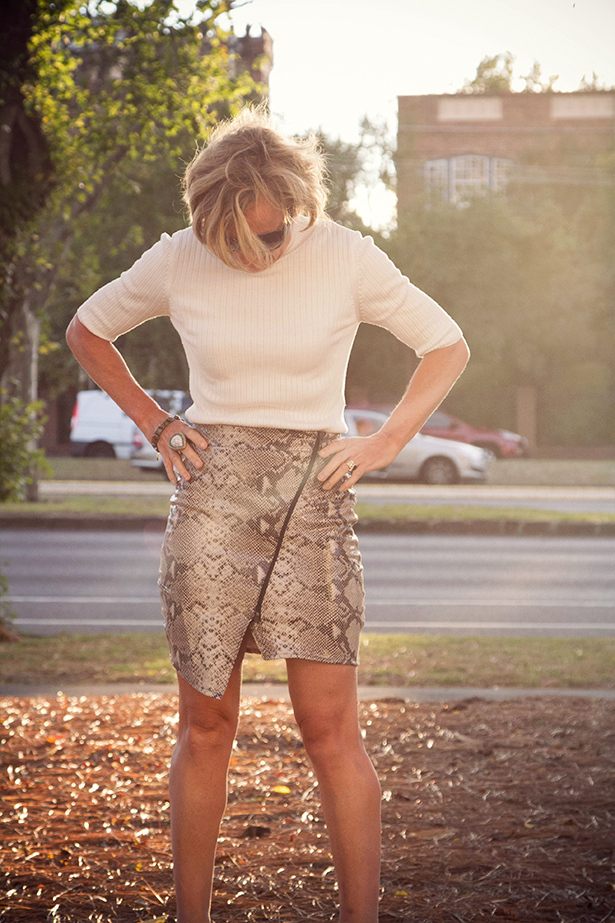
I’ve made the Pin Pegs mini skirt up in a lot of different fabrics but this leather version is my favorite so far. Leather is a very forgiving fabric with a nice natural stretch which works perfectly for the asymmetric zipper closure and wrap design of the Pin Pegs mini skirt.
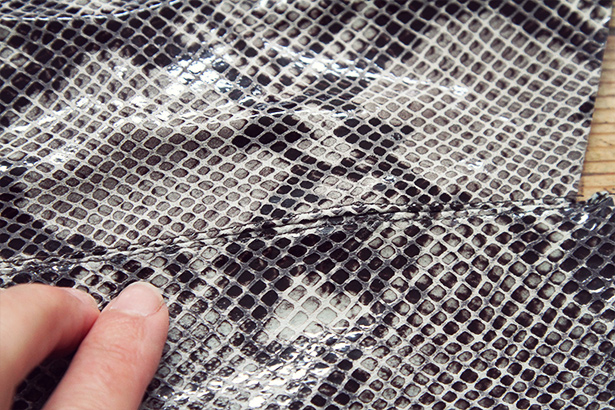
I purchased the leather hide from The Fabric Store in Fitzroy. They have quite a lot of leathers but the snake print really took my eye. It’s quite nerve wracking making such a big purchase and knowing that you only get one chance at cutting out and sewing. To be on the safe side, I took my pattern into the shop and laid it out on the leather to make sure I was buying the right amount. The leather hides are all different shapes and sizes so I highly recommend taking your pattern with you when buying leather.
Since I had never worked with leather before I did a bit of research before diving in. I’m happy I did as the tips and techniques that I learned made sewing the skirt easy and I have to say fun! I really enjoyed sewing this little number. I tried a few different techniques and made my own conclusions of what works best (for me anyway) so I can share these tips with you and hopefully they work for you too.
I’m really happy with the result.


A few quick tips on sewing leather.
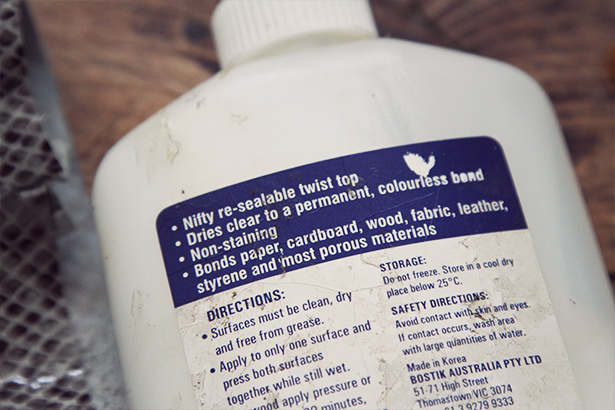
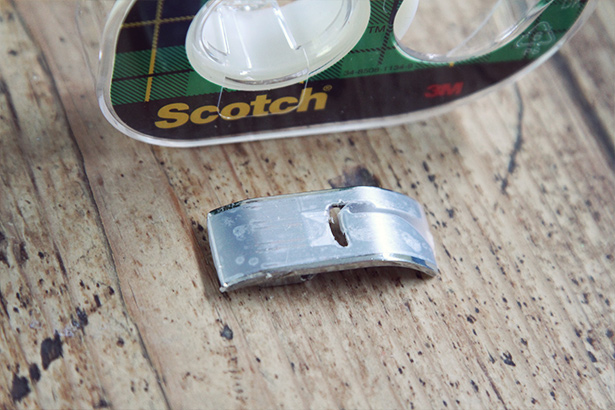
You will need a few supplies. A leather sewing needle, some craft glue suitable for leather, a hammer, binder clips, double sided sticky tape, also some scotch tape for the bottom of your regular machine foot unless you have a walking foot or teflon foot.
Pop the Scotch tape on the bottom of your regular foot and leave a hole for the needle. This will help glide the foot over the leather without any sticking and it works just fine so don’t worry about going and buying a special foot.
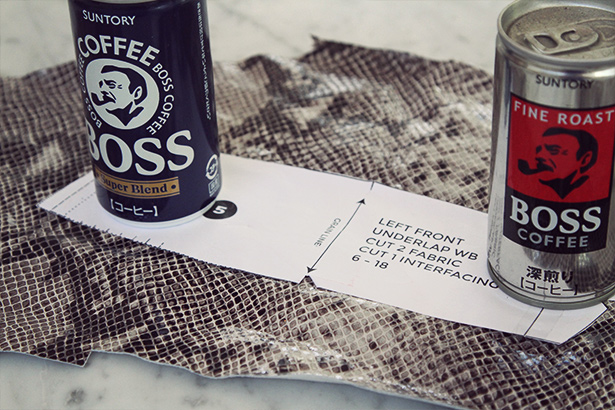
Lay out the hide and identify any flaws which is common in an animal skin. Plan your layout before cutting. Trace each pattern piece separately on the wrong side. Make sure you flip the piece over if it is on the fold rather than cutting on the fold. Use weights to hold the pattern pieces in place when tracing as pins will leave holes. When you are happy you have included all of your pieces and seam allowances in your tracings you are ready to cut.
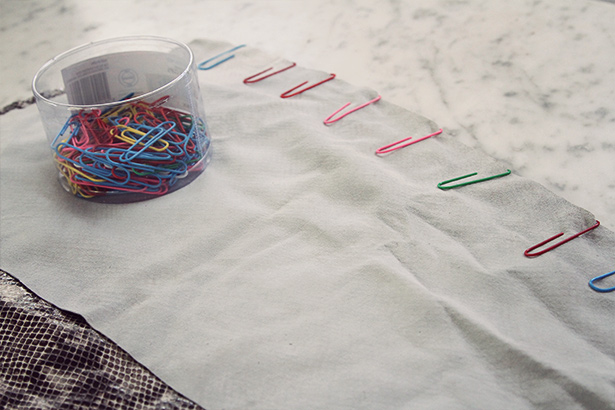
Use paper clips to hold pieces in place.

Use stitches that are slightly longer than normal and test on a piece of scrap first. Once you are happy you are ready to sew. Try to omit as much bulkiness as possible. If you have a design with darts and can get rid of them then do so. My leather was quite thin so I left the back darts. The beauty of leather is that you don’t need to finish seams and you can get away without facings.
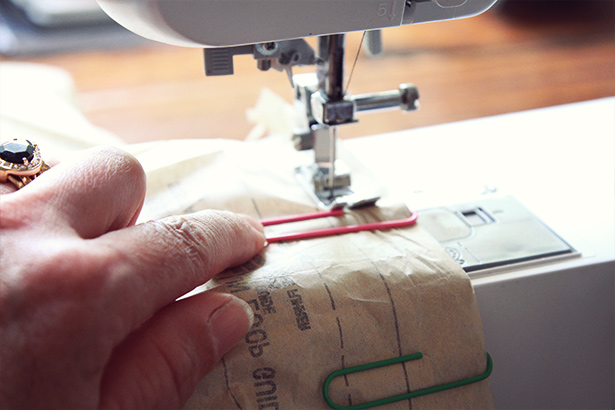
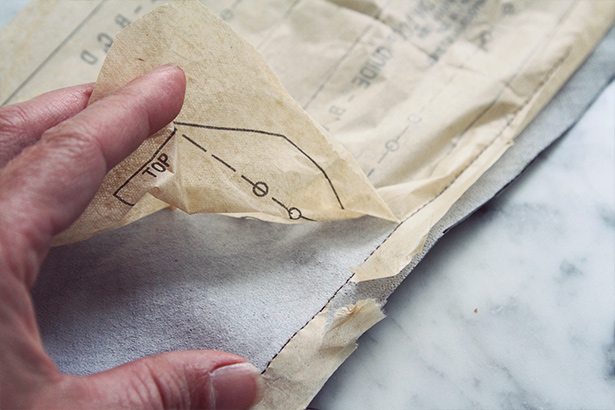
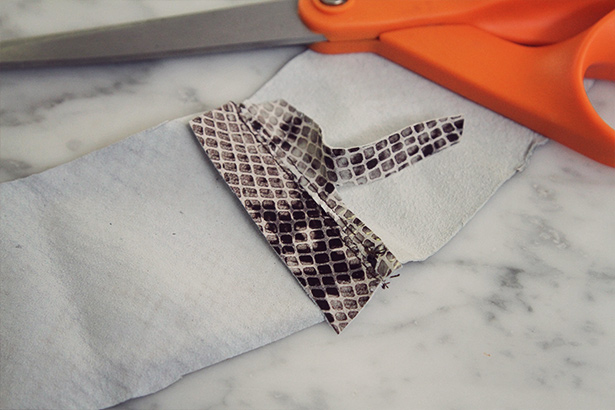
Another alternative to using a walking foot, teflon foot or scotch tape is to use tissue paper. Place the tissue on top of your seam allowance and sew through all of the layers and then simply tear away. I really liked this method, it works well.
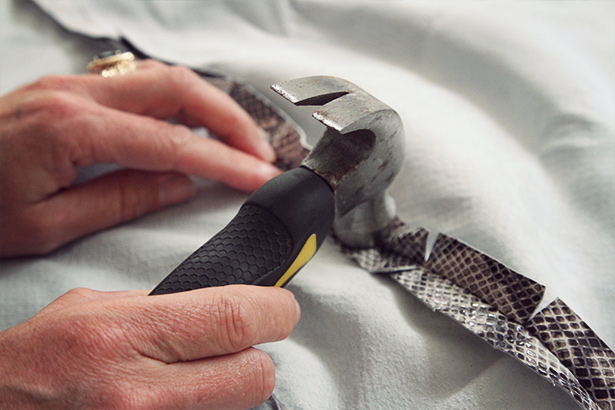
I used a hammer to “press” my seams flat.
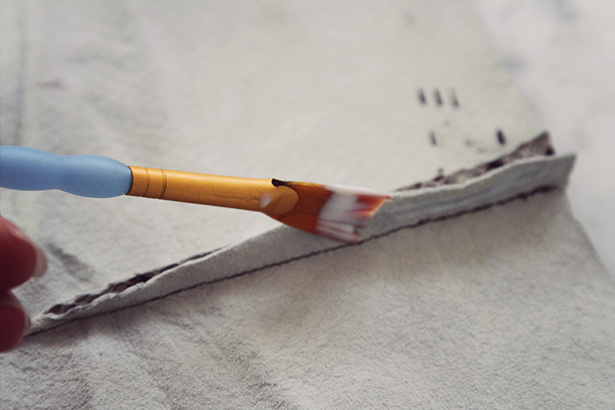
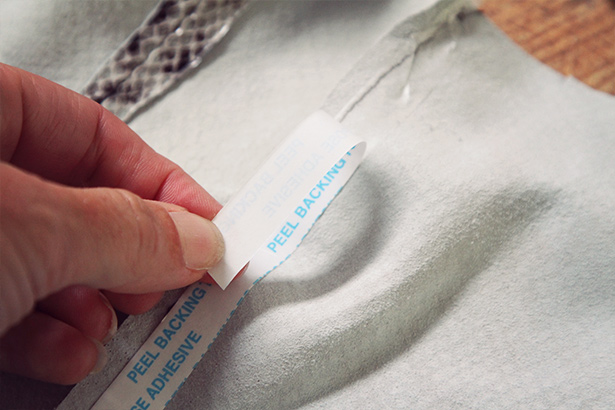
Then either glue or sticky tape in place using the craft glue or double sided sticky tape.
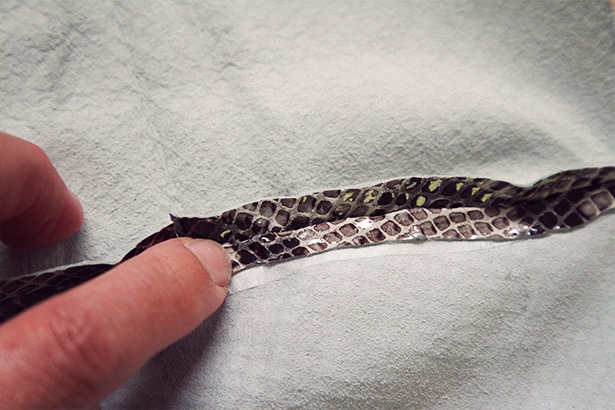
Once the seams are dry, topstitch the seams nice and close to the seam. Then trim away the excess seam allowance.
I hemmed my skirt with a very narrow hem but you can get away without hemming leather. I know leather seems scary, but honestly it is a lot of fun, kind of like combining diy craft and sewing in one and the results are just awesome.
mokosha
it looks really cool! i think i might steal your idea, and make myself leather pin pegs too
annie
Thanks Mokosha! Would love to see you make it up in leather.
Mady
I love it! And it also looks amazing on you! Great tips for sewing leather! My first attempt wasn’t so successful, so next time I’ll make sure to follow your tips!
Nine Stitches
Thanks Mady, My leather was quite lightweight which I think made it easier. You should give it a go again! Anniex
Emerald Erin
I am OBSESSED with this skirt- so chic, I’ve been really nervous to try working with leather, but this makes me think that some leather could be in my future! Thanks for the post!
Nine Stitches
Hi Erin, Thankyou! It is nerve wracking because Leather isn’t cheap, but if you go slow and make sure it fits perfectly before cutting out you’ll be fine. Good luck. Annie
Christy
Wow! looks amazing!!!
annie
Thanks Christy!
Monique
Looks amazing Annie
annie
Thankyou Monique.