
In this post my partner, photographer (and #husbandofinstagram) gives his top tips on taking photos of your sewing projects. Whilst he is not a photographer, I must admit, he does have an eye for a good picture though, I can give away one tip of my own – it’s definitely quantity before quality in our case!
My top 5 tips to taking photos of your sewing projects.
Taking pics of Annie all these years has taught me a few things that might help you when taking pics of your projects. After spending so much time on your project it’s really nice to be able to capture the best of your hard work – here are my top 5!
1 Get comfortable
Despite appearances, Annie is actually quite shy. I know right! If you don’t mind a street full of people looking at you then go for it. Otherwise, try and find a quiet lane, park or street where you can relax and enjoy taking pictures. Being comfortable also means having your photos taken by someone you are comfortable with. That means someone that isn’t intimidating or makes you pose in ways you might not feel natural. Honestly, it shows in the photo’s. When Annie is relaxed, the pictures always seem to shine.
We have a very quiet street and lots of empty laneways near our place.
Annie feels much more comfortable when no ones watching!
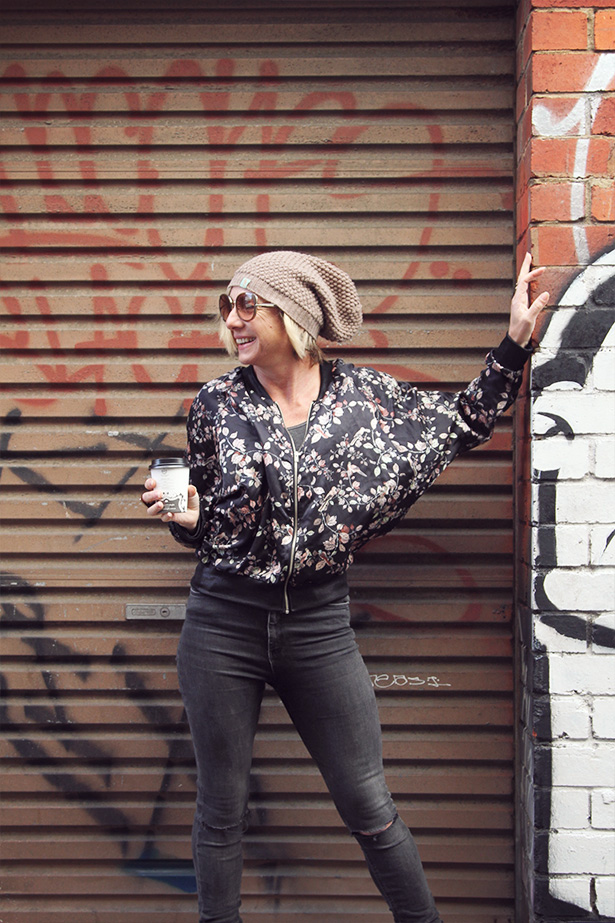
2 Consider your background
All too often I see pictures of sewing projects that are taken on busy, distracting or messy backgrounds which just leads the eye away from the garment. Try and find plain, flat backgrounds, like walls or greenery and pick colours that both highlight the colour of your fabric and compliment the fabric pattern. For example, a busy fabric such as floral print will struggle to stand out in a garden environment. If we are taking photos on the street and using a manual camera, try using a shorter depth of field so the background is blurred. This same effect can be achieved on an iphone by standing a bit closer to the camera. It might feel weird, but it will force a busy background to be blurred.
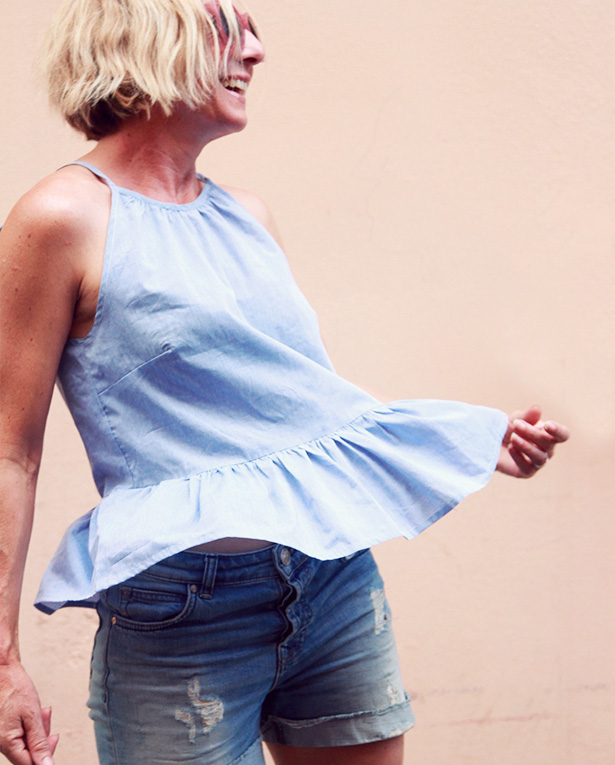
This apricot wall in Italy just went really well with the blue Gypsy top.
This picture was taken late afternoon on a cloudy day.
3 It’s all about the sun
It’s worth noting that most of the pictures we take are outside. I just prefer natural light and the different options. It also means we don’t have to clean the house! We don’t have any professional lighting but if we do choose to shoot inside, we find places that are very well naturally lit. I also never use the flash or house lighting as I find that unless you are using proper lighting, it looks pretty bad.
When shooting outside, I generally take pictures in the morning or afternoon and if possible on a cloudy day. If it is too sunny, I find you get too much contrast on the shots (big areas of light and dark) that then make the shot look a bit harsh. Sometimes, in the late afternoon, you can actually shoot straight into the sun if you block the sun with an object (such as a tree or the model)
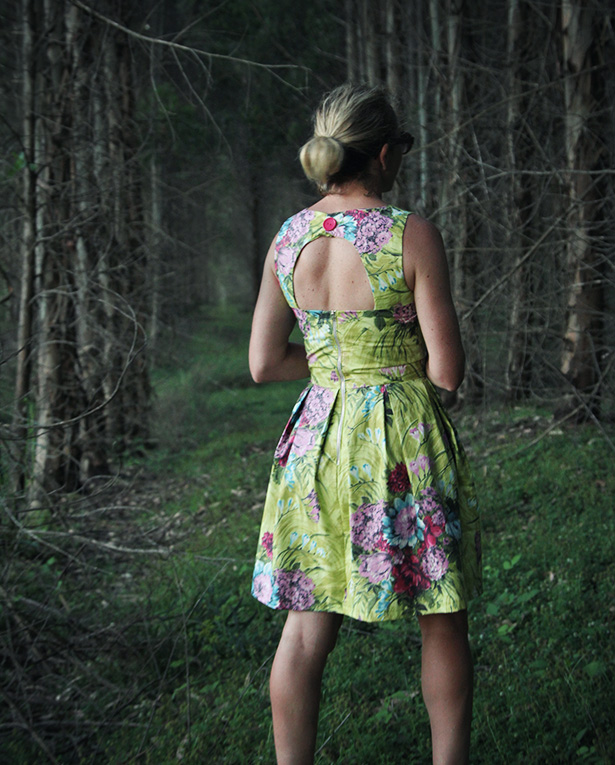
Taken almost at dusk on a cloudy day, the sun was setting to my left.
This lit up the dress really nicely and made it pop from the dark background.
4 Try using Instagram filters
If you are using your phone to take pics, try using an app like Instragram to touch up the shots. Instagram has some great filters and lenses. Personally I am a big fan of a touch of Gingham (no more than 50%) or Amaro (at no more than about 50%) and I like to add some dark Vignette to pop the foreground out. Just experiment with the filters and lenses and you will soon works out what works for you. And if you don’t use Instagram, there are plenty of free phone apps not connected to social media that you can use.
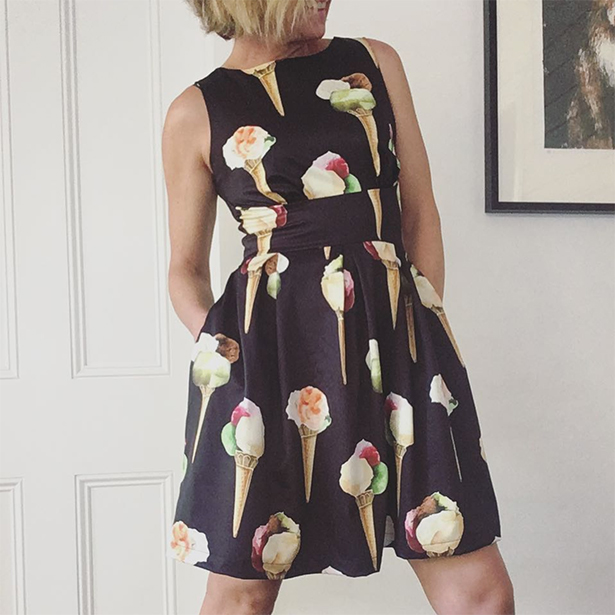
Annie take a lot of pictures herself in our living room. This one has some Gingham added in Instagram.
The shots are well lit using as much sunlight (not direct) as possible.
5 Take lots and lots of pics, experiment and keep trying
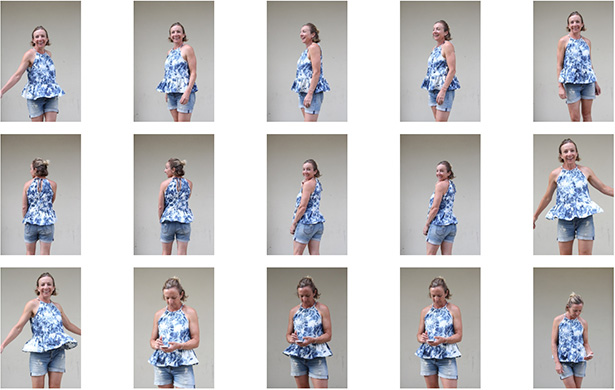
Is a digital age so I find being an amateur photographer (and model) it just pays to take lots of pics. It might be harder to sort through but I find choice is a good thing. Make the most of new environments such as holidays or social occasions to add some variety to your shots. If things are not working, try moving around, change angles, props, backgrounds until you get a setup that feels right. Then take lots of pics in that spot to ensure you get the perfect pic. Take a combination of full length, half length and close up shots to show the different aspects of your project from the fabric, to sewing details to the overall look.
Finally, remember to have fun. If you are having fun, it always shows in the pictures!
Inez
There’s certainly a lot to know about this topic.
I really like all of the points you made.
Annie
Thanks Inez. There really is so much to learn!
I think trying to have fun is the most important tip!
Annie
Eleanor Prout
Great advice, lovely photos and I’m really surprised that your subject is shy!
Tony Prysten
Hard to believe hey!
Annie
Thanks, I’m what you call an introverted extrovert!
colette
some great things to think about here – thanks!
Annie
Thankyou, you are welcome! x