If you’ve sewn a few garments you’ve probably heard the term “grain” and seen grainlines on your pattern pieces. But you may not know exactly what it is and why is it so important? In this post I have a few tips on how to easily straighten the fabric grain.
There are two grain lines on your fabric. The weft (the cross grain) and the warp (the length grain). The warp grain is parallel to your selvages and the weft runs across perpendicular to the selvages. The bias on your fabric runs at a 45 degree angle to these grainlines. The warp thread is generally stronger and is least likely to stretch out of shape.
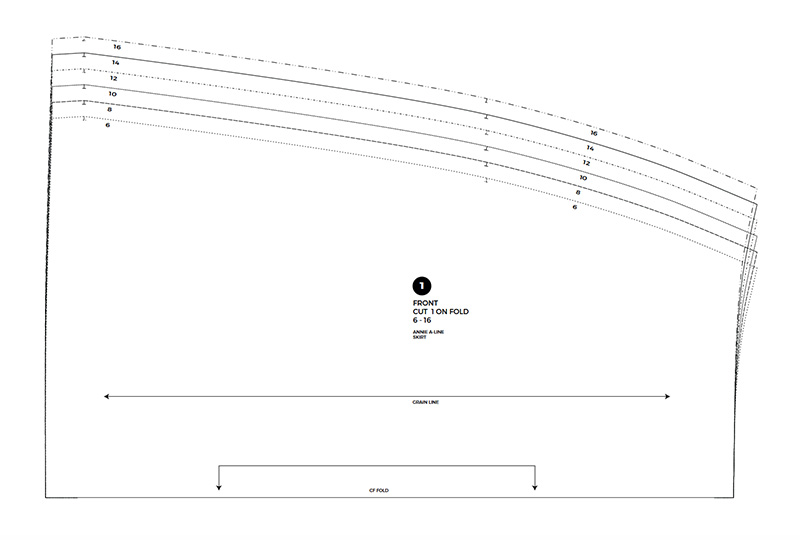
When you lay out your pattern pieces you will notice the grainline marked on your pattern. Always make sure you lay your pattern pieces with the grainline parallel to the selvage or warp thread.
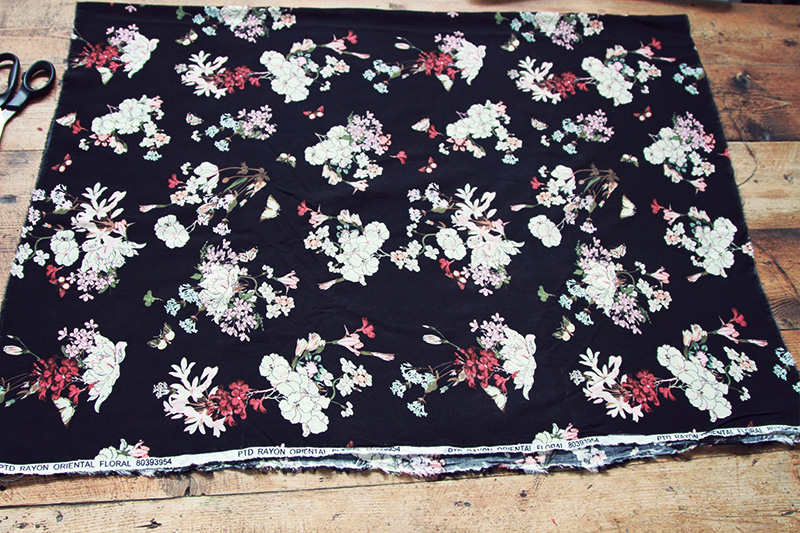
 It’s really important to know which way the grain is running and if the grain is straight before cutting your pattern out on your fabric because fabric that is off grain or cut out on the wrong grain can cause your completed project to twist out of shape. Sometimes the fabric can be off grain because of the way it has been rolled onto the bolt. The fabric can stretch and be off grain.
Most of the time it’s ok if the grain is just a little off, it won’t affect your pattern too much but if its off by a lot it will affect your pattern. The seams will stretch and twist because they are being sewn too close to the bias.
Here are a few ways to establish the straight grain. You may need to try a few ways before getting the grain straight but it will eventually straighten out.
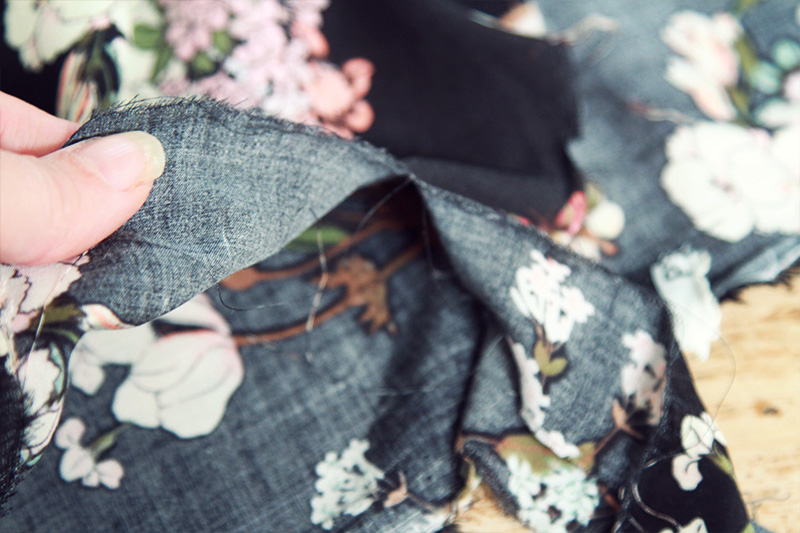
1. Tearing the fabric.
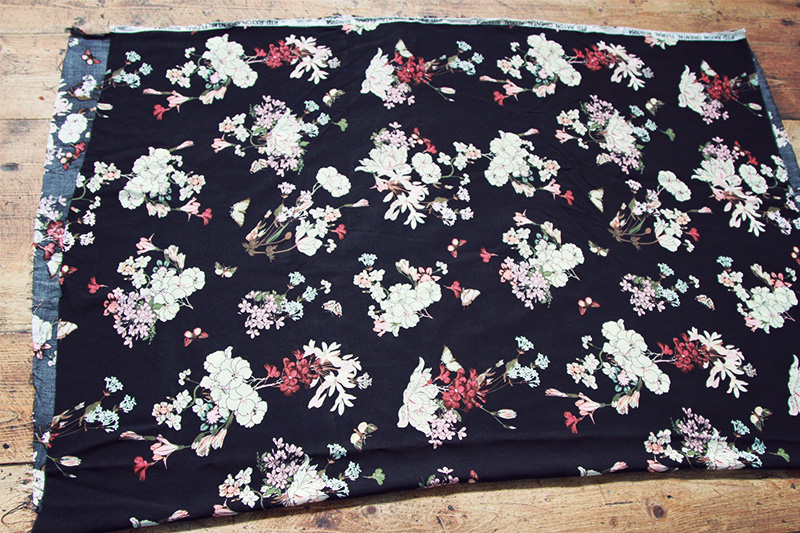
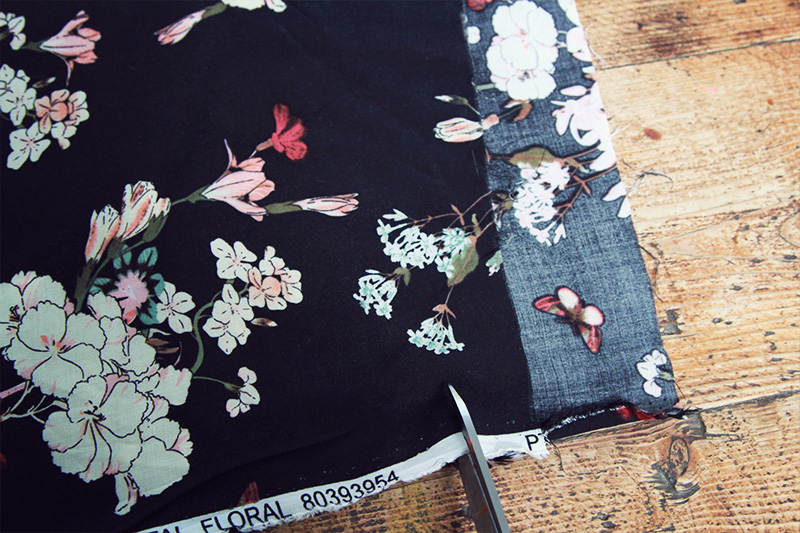
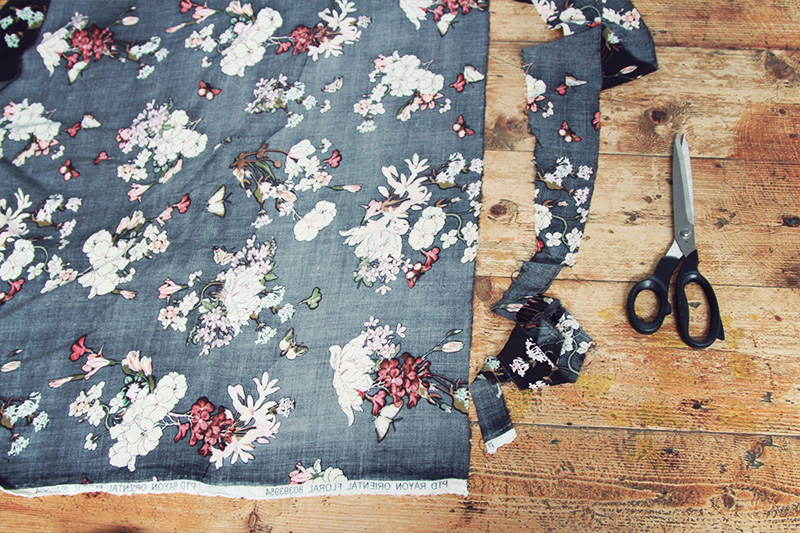
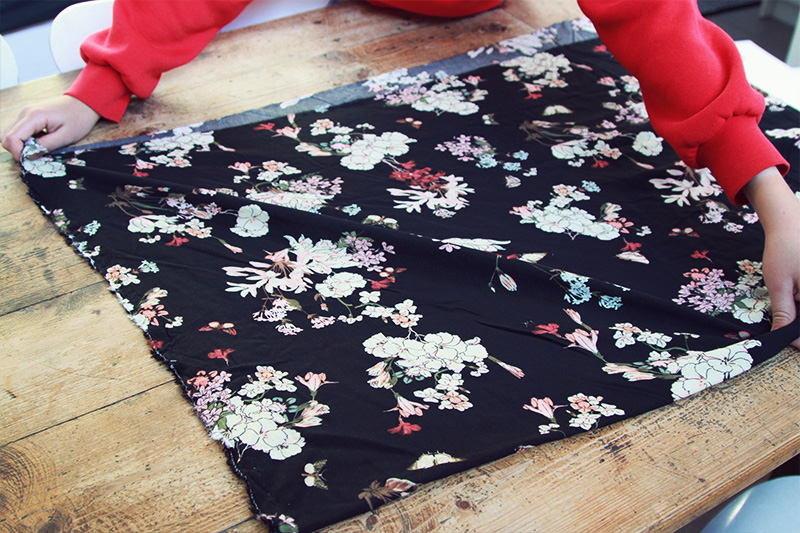
Fold your fabric in half lengthwise and match selvages so that they are flush. You will see that the cut edges are most likely a bit crooked and don’t match up. Close to one cut end make a snip in your fabric about a few cm’s away from the edge. Then start ripping it all the way across. Pull away any loose threads and this will give you a straight grain line across. Now fold the fabric again lining up the selvages and cut edges. Both the selvages and cut edges should line up and the fabric should lay nice and flat without any wrinkles. If they don’t your fabric is still off grain.
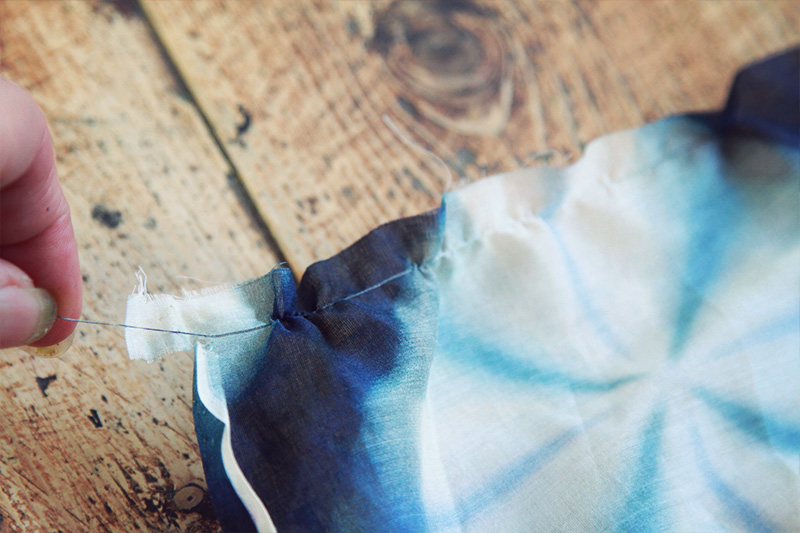
2. Pulling a thread
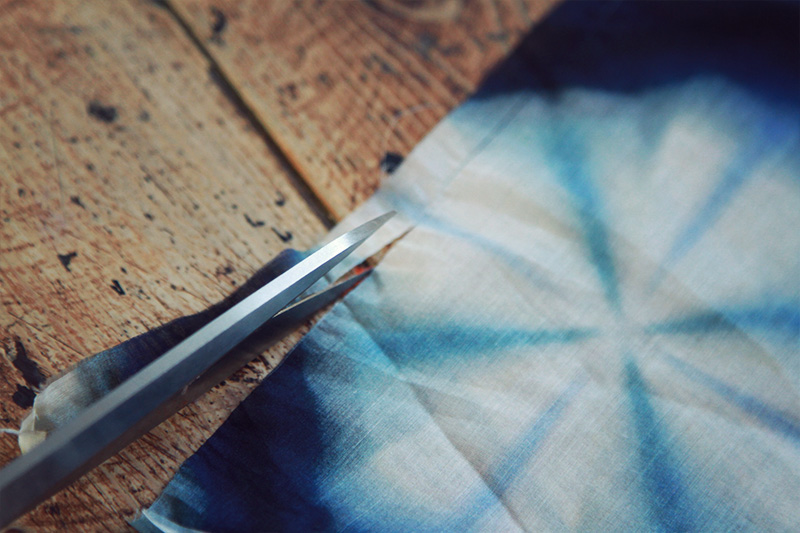
Some fabrics won’t rip easily. If it doesn’t you can try pulling out a thread. Close to one cut end make a snip and find one thread that goes all the way across. Start pulling the thread out all the way across the fabric. If you’re lucky it will come out in one go but it might bunch up a little while your pulling it so just pull every few inches and then cut on the line it has created until you reach the end.
When you pull out the single thread it will give you a nice straight line across the fabric. Using this line as a guide you can cut all the way across the fabric.
Now fold the fabric lengthwise again and line up the selvages. Is your fabric lining up now? If not, try the stretching method.
3. Stretching
Another method to try if ripping or pulling a thread isn’t successful is to stretch your fabric. Fold fabric in half with selvages together again. You’ll notice that when the grain is off one of the corners is short. Holding the short corner in one hand, grab the opposite corner with the other hand and gently stretch the fabric on the bias. Then fold it in half again and see if the edges are lined up. Keep repeating until they line up but be careful not to be too rough with your stretching as it can stretch any prints on your fabric out of shape.
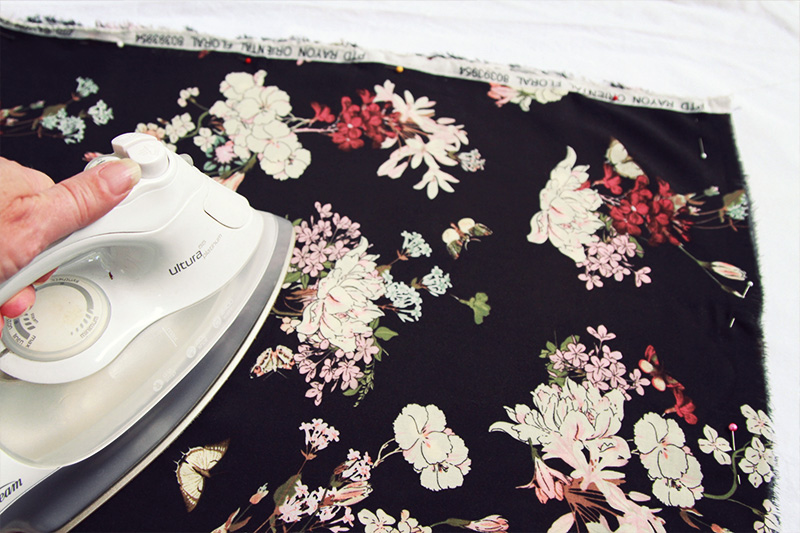
4. Ironing
If your fabric is still not lining up then you can try ironing your fabric. Pin together the selvages and the cut edges at one end. Using the steam setting on your iron press the fabric starting at the selvage edge and push the fabric towards the fold. You might have to pull the fabric on the bias in the direction it needs to be straightened. Pull and press until you get to the end.
I hope this helps you understand what the grain of fabric is and why it is important to make sure it’s straight before starting your next project!