
Assembling your Venus Kimono PDF Pattern
Today I’ll show you how to print and assemble your Venus Kimono PDF Pattern.
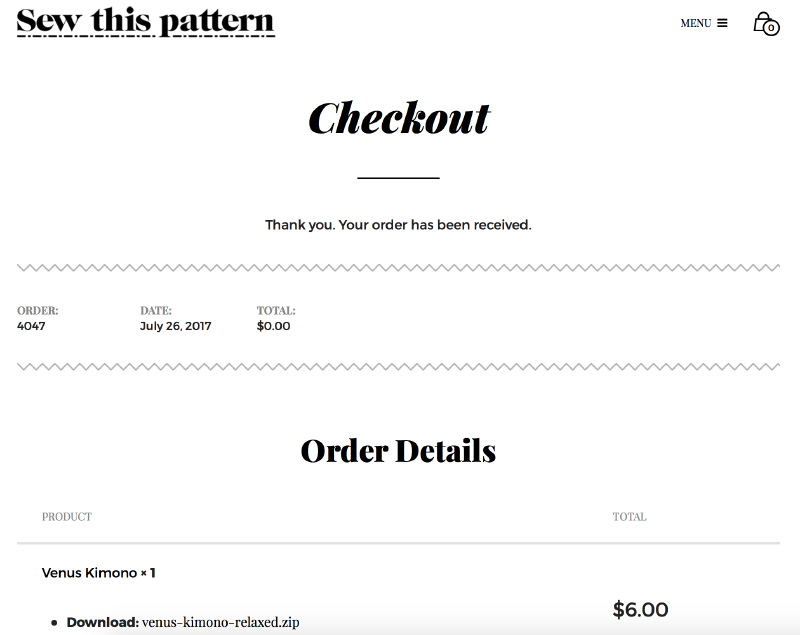
Once you have purchased your pattern you will get an instant confirmation that looks like the example below. Just click on DOWNLOAD to instantly receive your pattern. This will be a .zip file which includes three pdf files including the instruction booklet and the pattern.
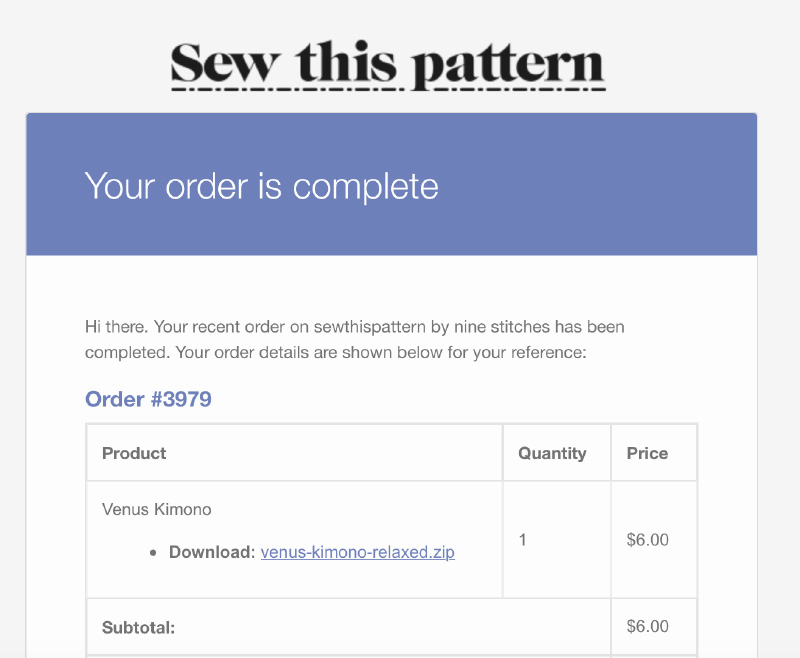
Or check your email inbox and you will receive a confirmation of your order like the example below. Just click on the download file.
Printing your PDF pattern
Printing your pattern to the right size is critical! Make sure before you print that you choose the option “print at actual size” or “scale 100%” or “no scaling”.
Print off the pattern on regular A4 or 8 1/2 x 11″ paper.
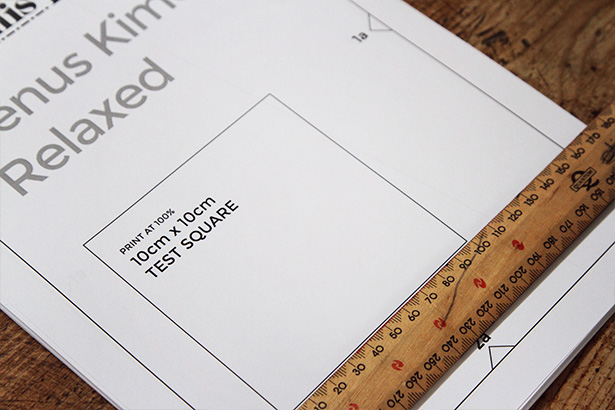
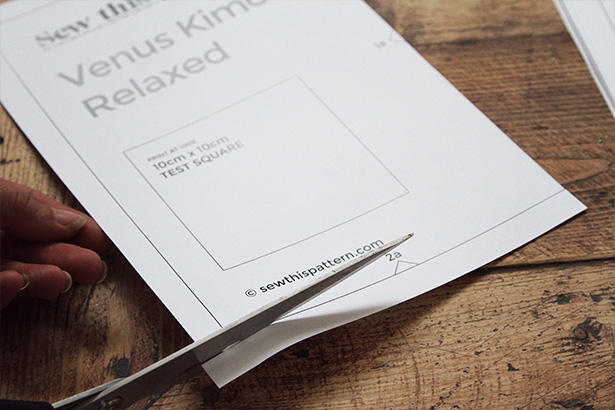
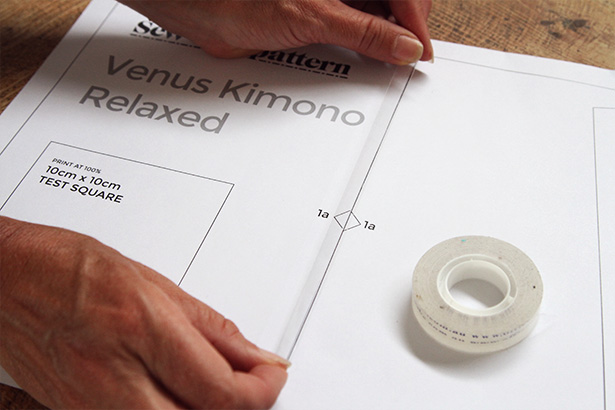
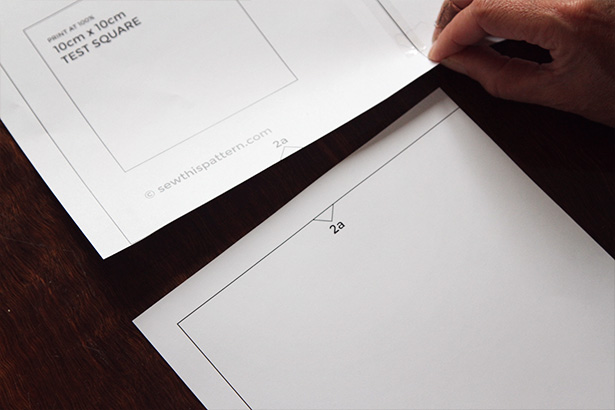
There will be a Print Text Square that measures 10cm x 10cm . This is on the first page. Print this page off first before printing all of the pages. If you go ahead and print all you will waste alot of paper if it’s not correct.
Once you have measured your square and it is exactly 10cm x 10cm go ahead and print the entire pattern. If the square doesn’t measure correctly go back into your settings and adjust until the square measures correctly.
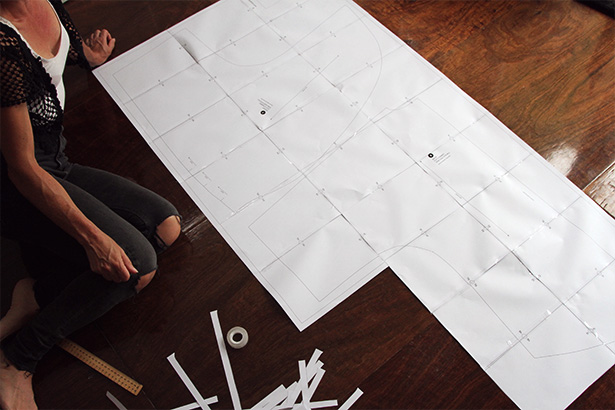
Assembling your PDF pattern
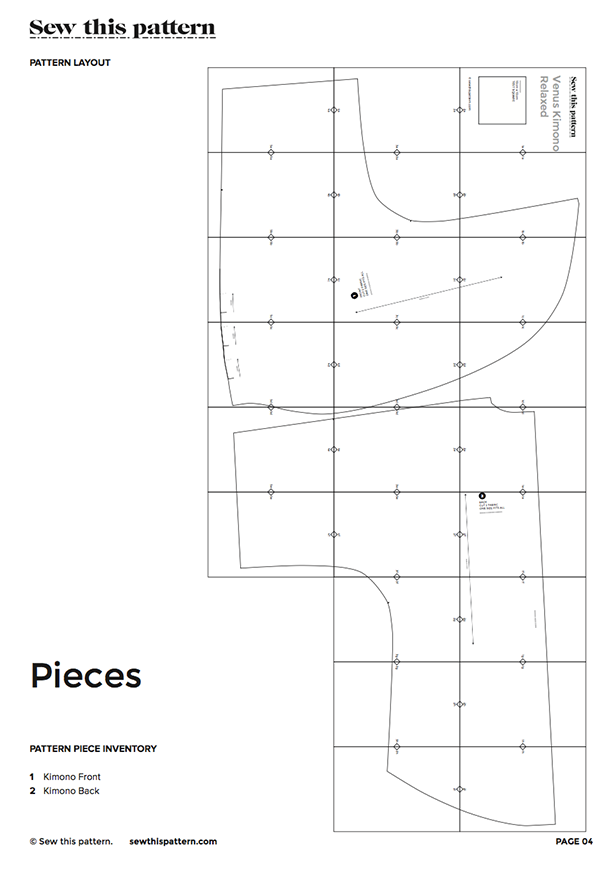
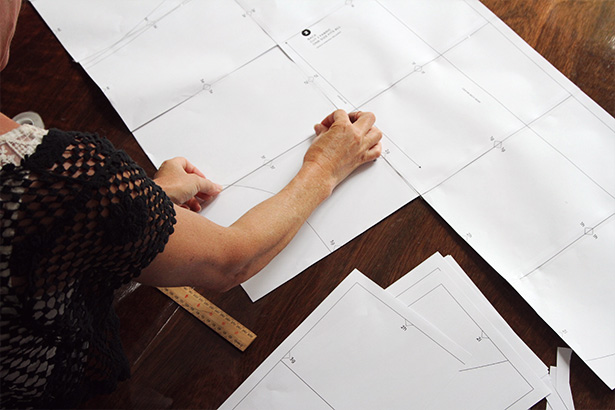
Have a look at the pattern layout page on page 4 before assembling your pattern so you can see how the pieces will fit together.
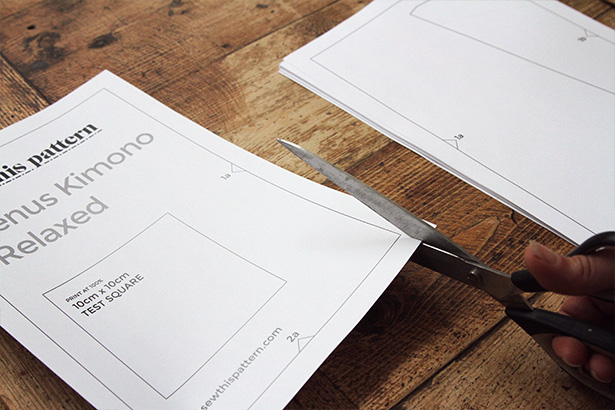
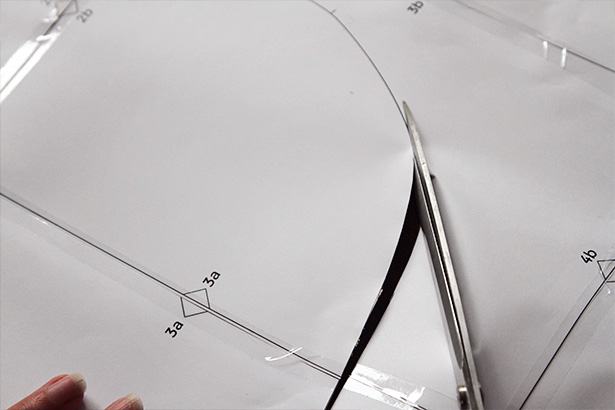
Hot Tip! There is no need to trim all sides of the pattern sheets, just cut the right hand side and bottom on each sheet. This will leave the left border and top border free to use as the overlap to stick to. Also, to save more time don’t worry about cutting the bottom border of the last row.
A little guillotine is very handy also, makes quick work of the cutting process. I definitely recommend cutting one sheet at a time and no cheating by trying to stack a few on top of each other! Believe me, I’ve tried it and it doesn’t work. You will end up cutting off too much or too little and then have to print it all off again.
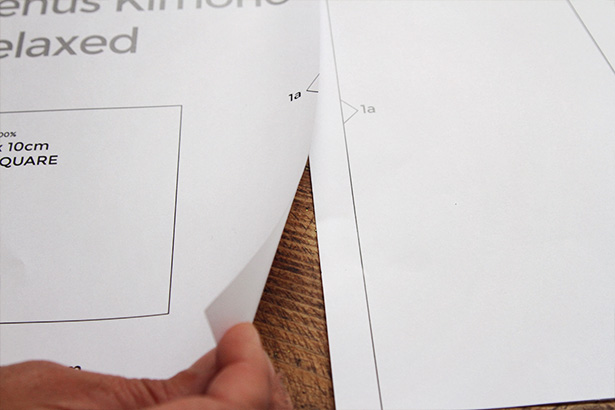
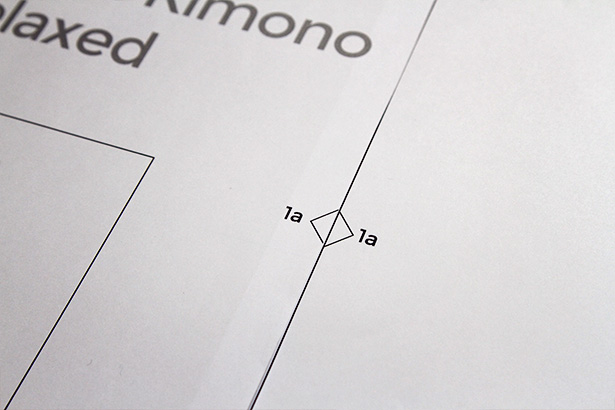
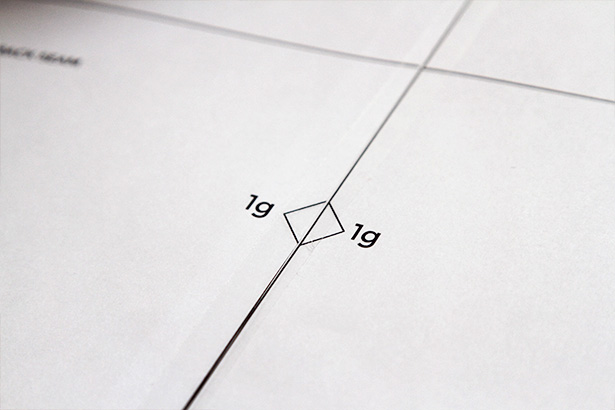
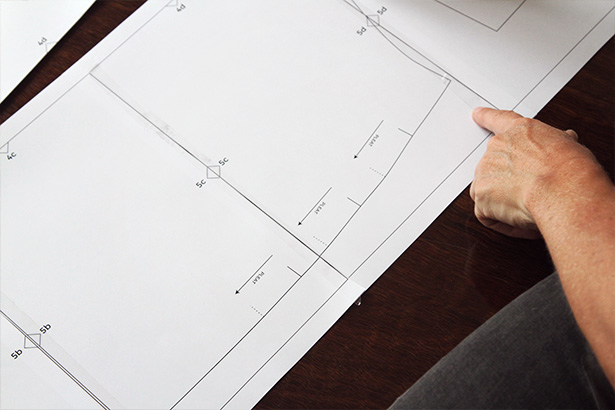
Trim and assemble one row at a time. Line up your first pattern sheet and match the notches together, for example 1a to 1a and then stick with sticky tape. Then match 1b to 1b working left to right and continue until you have completed the first row. 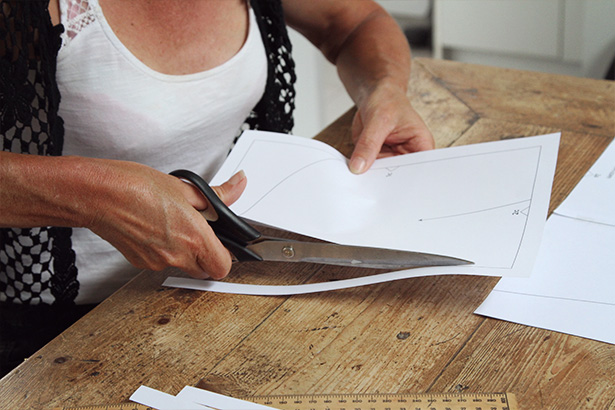
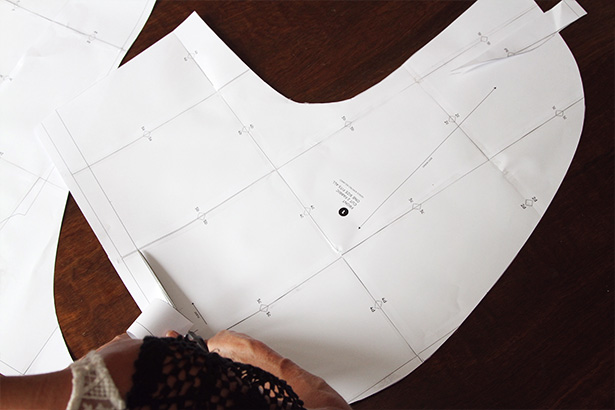
Overlapping the pattern pieces together.
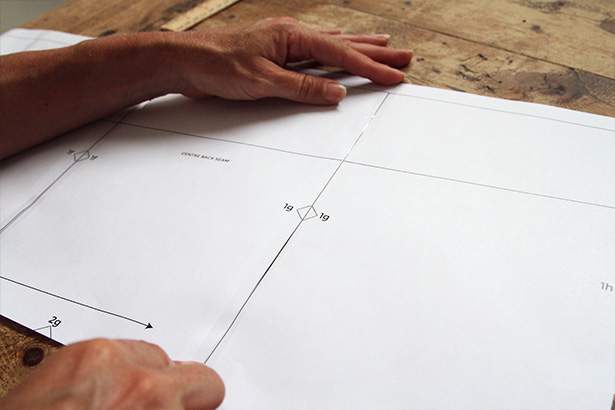
Then assemble the next row matching and overlapping the bottom borders and work left to right.
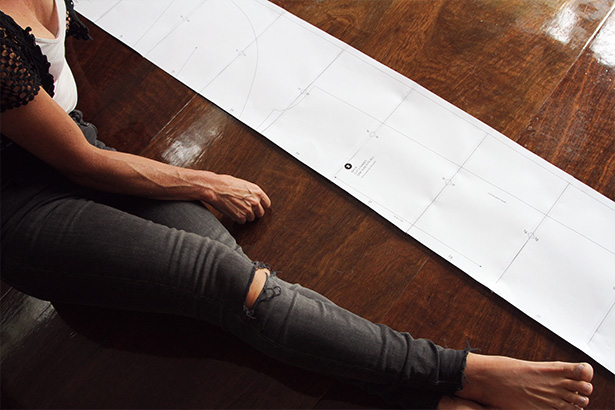
If you don’t have a huge table to lay it out on the floor.
Continue until you have finished all rows.
If the reference points don’t match exactly, don’t worry. Just make sure the design lines are matching as best they can. If they are a little off just blend with a pencil afterwards.
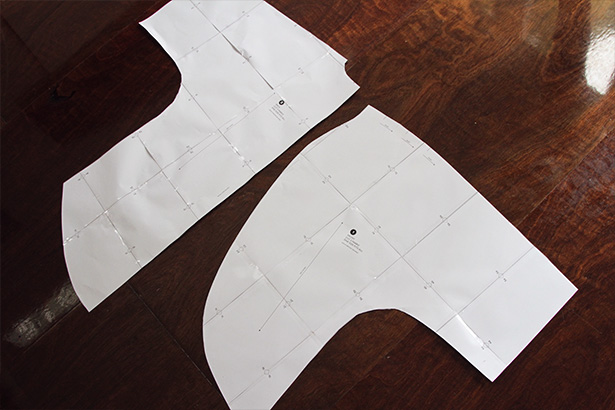
Then all you need to do is cut out your pattern!
Printing at a Copy Shop
For some sewists the idea of assembling a PDF pattern is really boring and tedious. For this reason this pattern includes an A0 size version of the pattern so you can take it to the Copy Shop to print off on one piece of paper. There are two A0 pieces to print off, the Front Kimono and the Back Kimono.
Next up – Day 3 – Fabric grain, Toile, Cutting and transferring markings.
Please comment below if you have any questions.
Shelly Perna
Thank you sew much for the Sewalong.
The tip to overlap the pages makes putting a PDF pattern together so easy.
Shelly Perna
Thanks Shelly!
Yes, when I figured that out it made it much easier.
I hope you enjoy the sewalong.
Annie x