Sewing French Seams and Pleats
Now it’s time to start sewing our Venus Kimono! In this post, we will sew the shoulder pleats and the french seams. If you’ve never sewn french seams before, don’t fret as they are actually quite easy but you just have to be a little patient as it takes a bit more time than just whipping up a regular seam.
I’ve chosen to use French seams with the Venus Kimono as you will most likely be using a delicate fabric. French seams are a beautiful finish for silk or lightweight fabrics that fray easily. A French seam is a seam that is stitched twice, first on the right side of the garment and then on the wrong side encasing the seam. You may use a regular seam but just remember that the seam allowance on the Venus Kimono pattern for the French seam is only 1.2cm not your standard 1.5cm. French seams are not recommended for bulky fabrics.
I’ll start by showing you how to sew a french seam. Make sure you practise your french seam on a piece of your scrap fabric first so you feel confident before sewing the seams on your kimono.
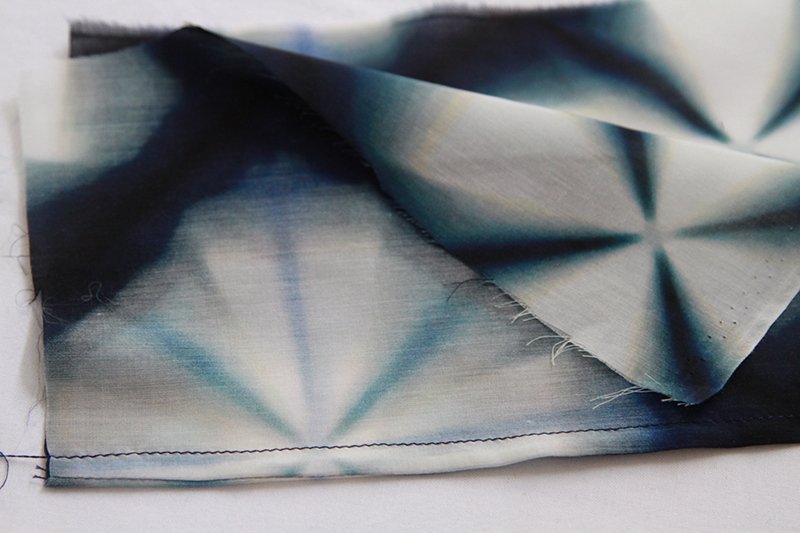
1. With the fabric wrongs sides together, stitch a 5mm seam so the seam is on the right side of the garment.
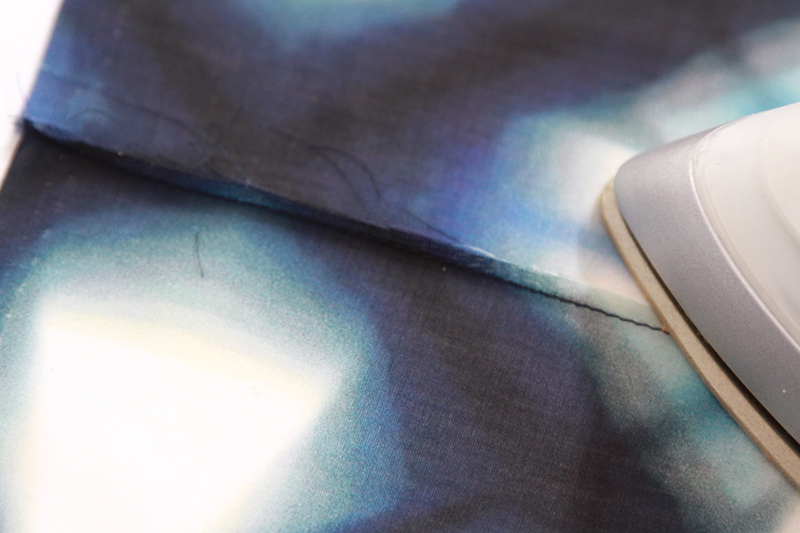
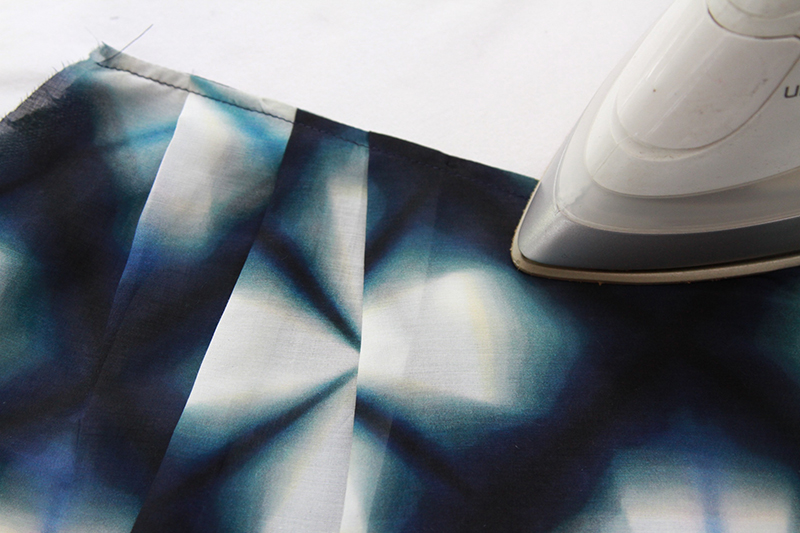
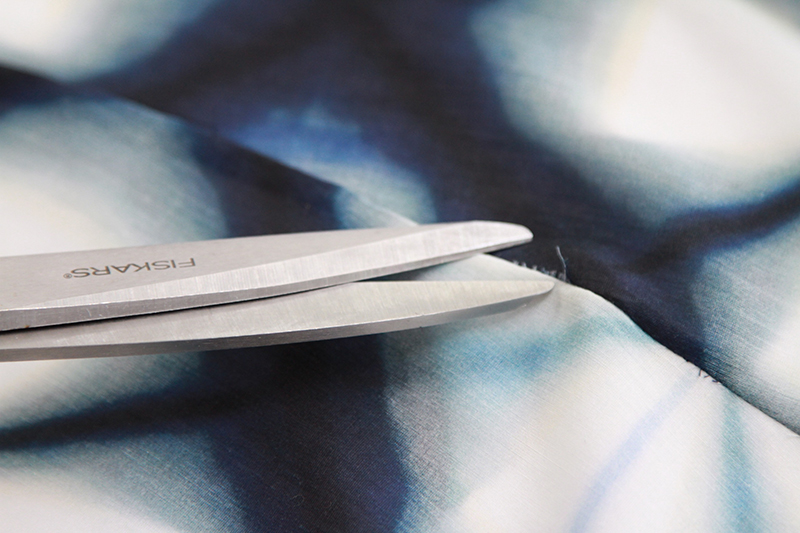
 2. Trim slightly and press the seam open. Then press the seam to one side.

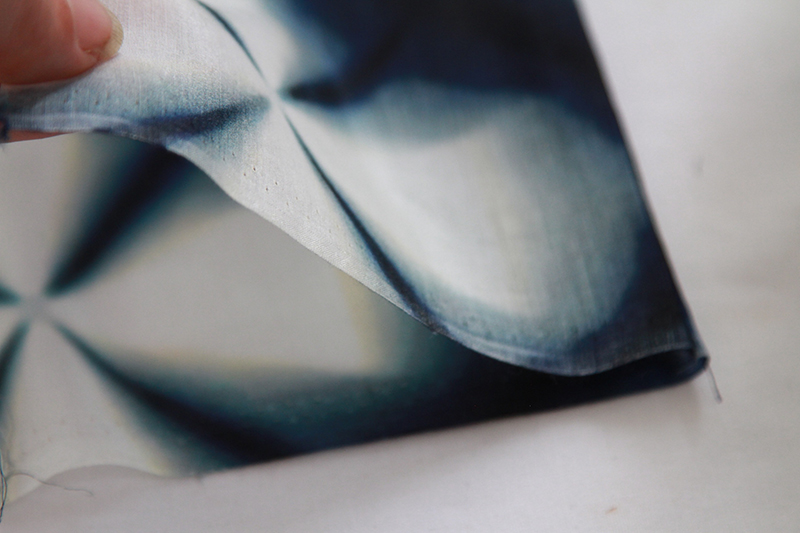
3. Fold the fabric over the seam so right sides are together and pin together. If you have really delicate fabric, you can also baste this seam together.
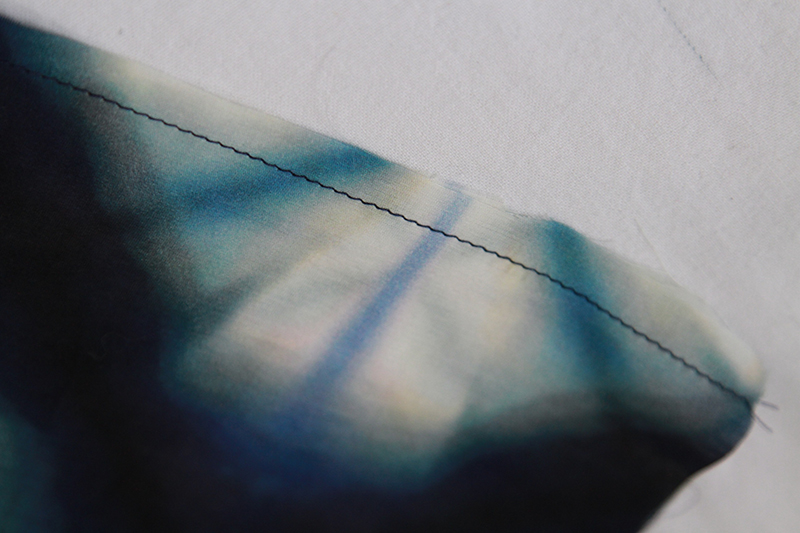
4. Sew a 7mm seam allowance enclosing the first seam.
 5. Press the seam flat on the inside of the garment.
So, now we know how to sew a French seam lets get started!
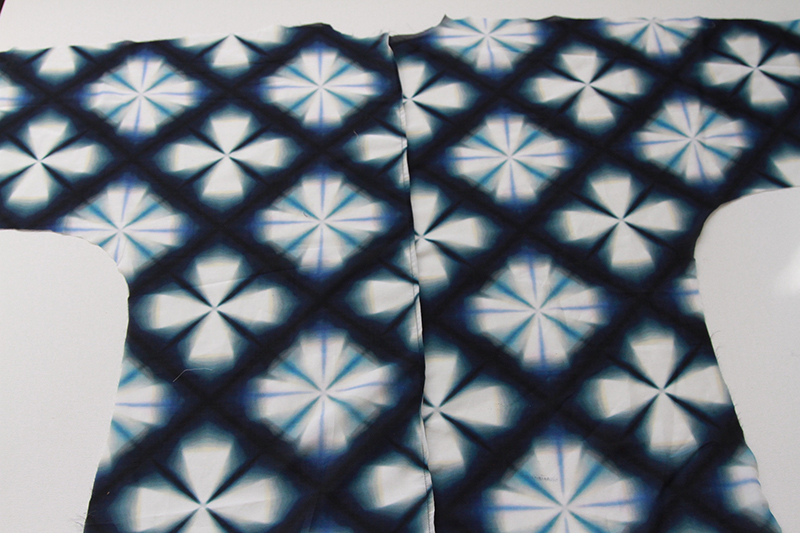
Sew the centre back seams together using the french seam method. When pressing your kimono make sure if you are using a very delicate fabric that you use a muslin press cloth. I won’t show a press cloth in my pictures as you won’t be able to see what I’m doing but I highly recommend it.
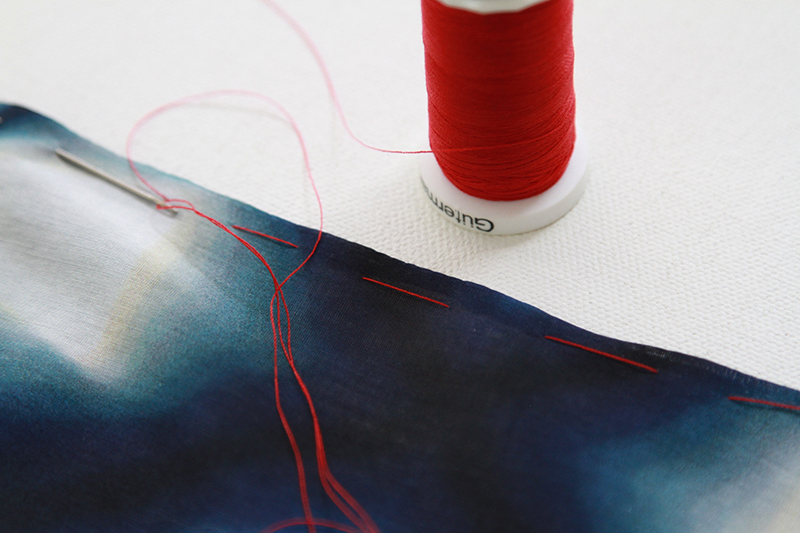
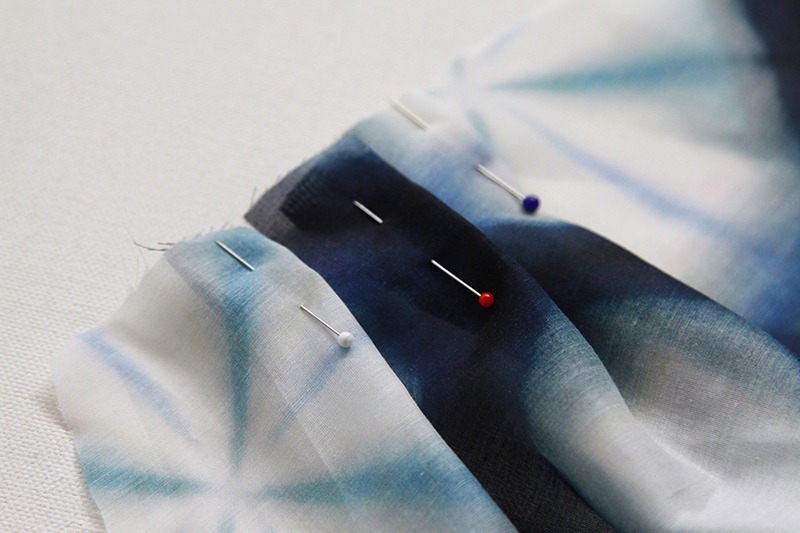
Create pleats at shoulders by folding the fabric on the marked solid line to the placement line. Follow the directions of the arrows which means you will be folding the pleat towards the shoulder. Pin in place.
Machine baste on the seam line.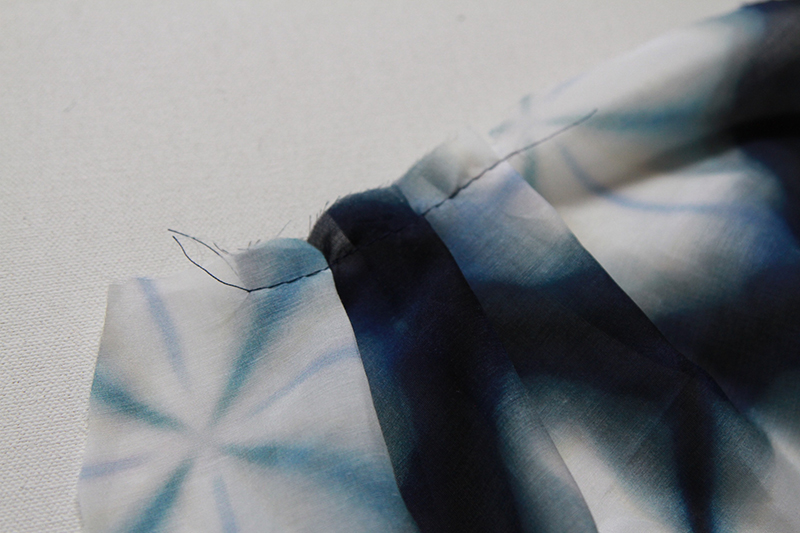
Wrong sides together matching notches, pin Fronts to Back at shoulder seams using french seams as above. Remove any basting stitches from the pleats and give the seams a good press.
Check on the outside of your seam and make sure there aren’t any loose threads. Occasionally you might have to snip off a few frayed threads that might be popping out of the french seam.
Wrong sides together, pin and sew Front to Back at side seams using French seams as above.
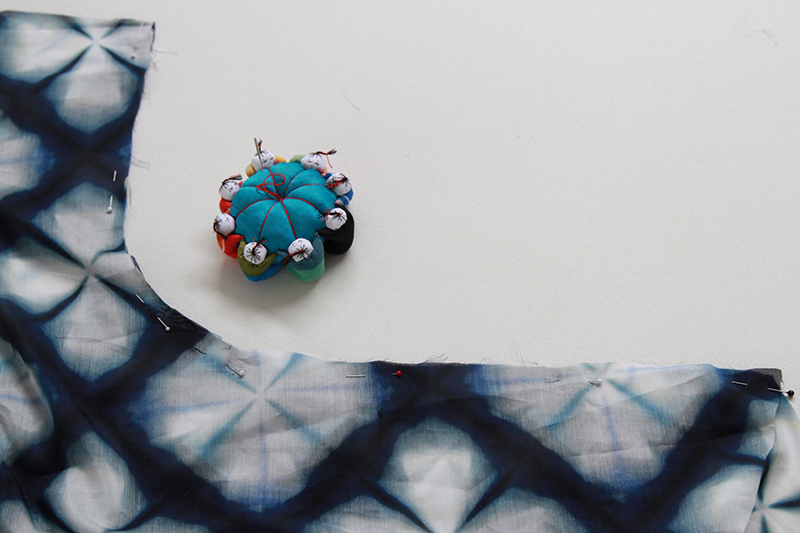
Before finishing the seam with the french seam clip the curves to create some ease under the arm.
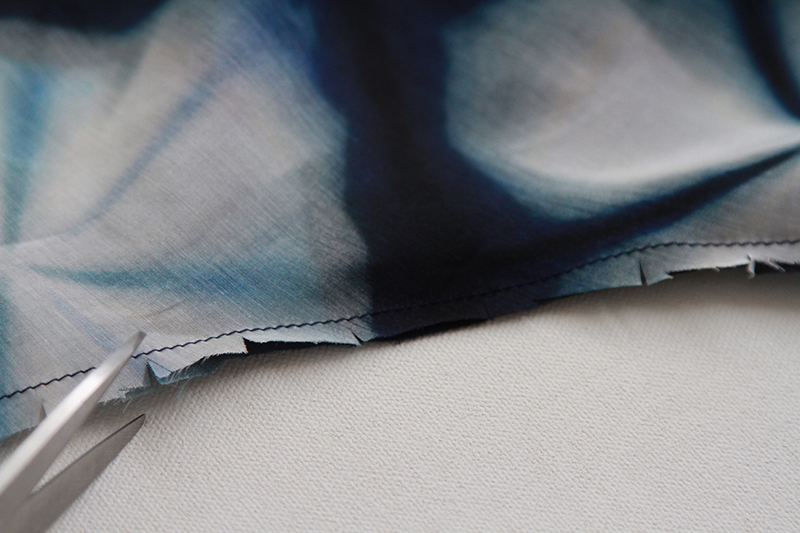
Continue sewing the french seam as above after clipping the seam.
Snip off any loose threads and give your Kimono a nice press. You should be seeing your Venus Kimono taking shape!
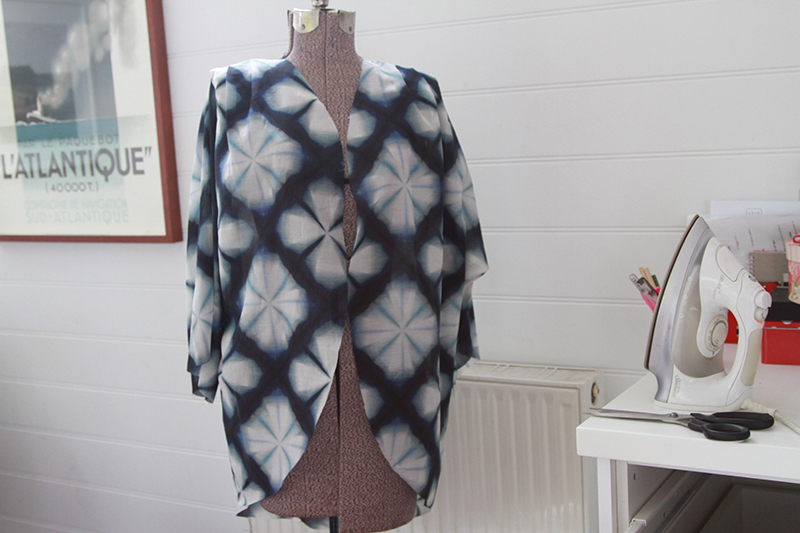
Next up and final day of our Venus Kimono Sewalong, Day 5. Rolled hems, sleeves, neck and hemline.
Please comment below if you have any questions.