I came across the Sorbetto top pattern by Colette Patterns after searching for a free pattern for a few of my beginner students. The pattern has been around for a while so there are plenty of versions online which is great if you are looking for a new pattern, you can really get an idea of the end result.
I always test sew patterns before recommending them for my students, especially for beginners as I want to make sure the instructions are clear and it’s not too difficult to sew. This is my review for the sleeveless version.
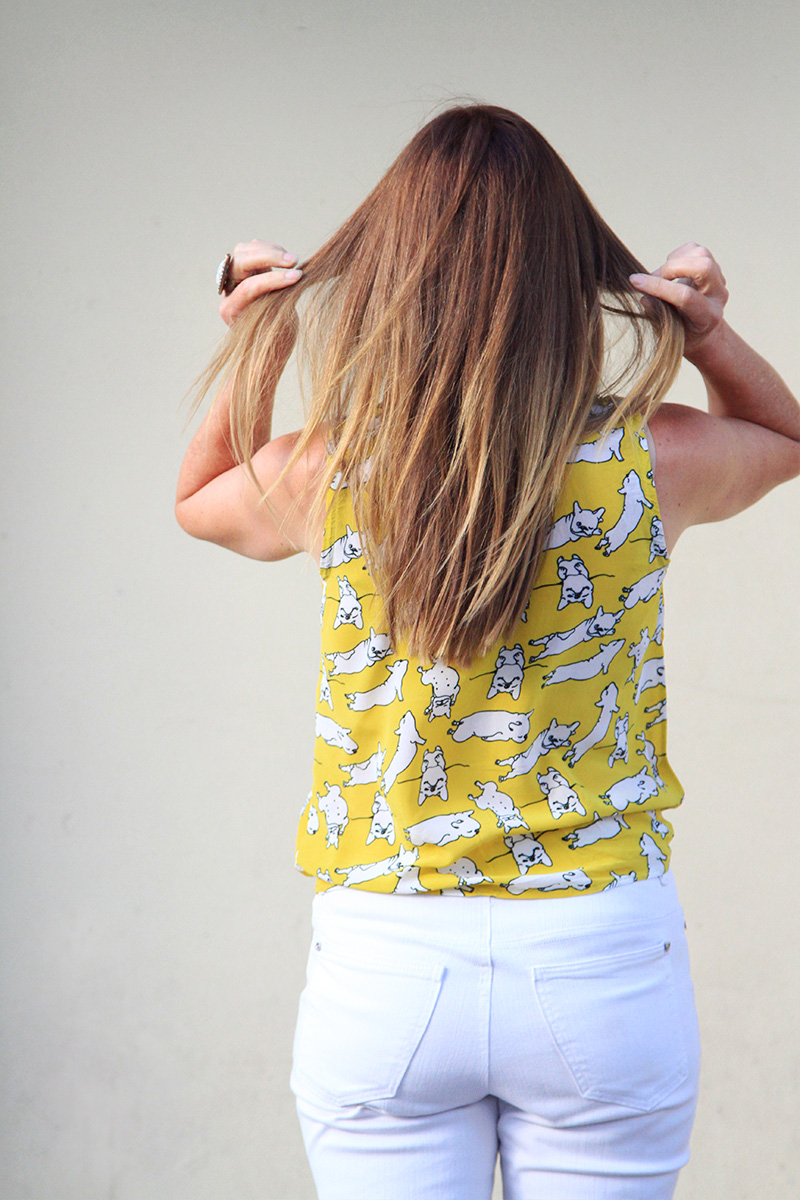
The Sorbetto top has no closures to sew, a single box pleat at the center front (which you can eliminate if you want), necklines are finished with bias tape, it can be sleeveless or with a short sleeve and two different lengths. It also comes in sizes 0-26.
Speaking of size ranges, before I start my review I might just quickly touch on the topic of size ranges. When I downloaded the pattern, I was really happy to see the size range 0-26. I’ve noticed as I’ve been teaching in my studio that the “normal” size range available for most patterns is usually 6-18 in Australia but it just doesn’t cover enough sizes. I’ve had to adjust no end of patterns for my students who fall just outside this range, I would say 20-24. Now, I’m guilty of this myself as I only have a couple of patterns available in the plus-size category but I am working on it as we speak as I realise there is a need for the plus-size size range. I’ve never intended to exclude the plus-size size range, it’s just that I have only ever had experience designing patterns at the standard 6-18 as that’s all I had ever been taught at fashion school (many years ago). I have now hired the help of a pattern maker to allow me to make my patterns available in the plus-size range. I have the free Annie A-line pattern coming out in size 20-30 and the Beverley Swing and Betty Wiggle also coming out in size 20-30 very soon!
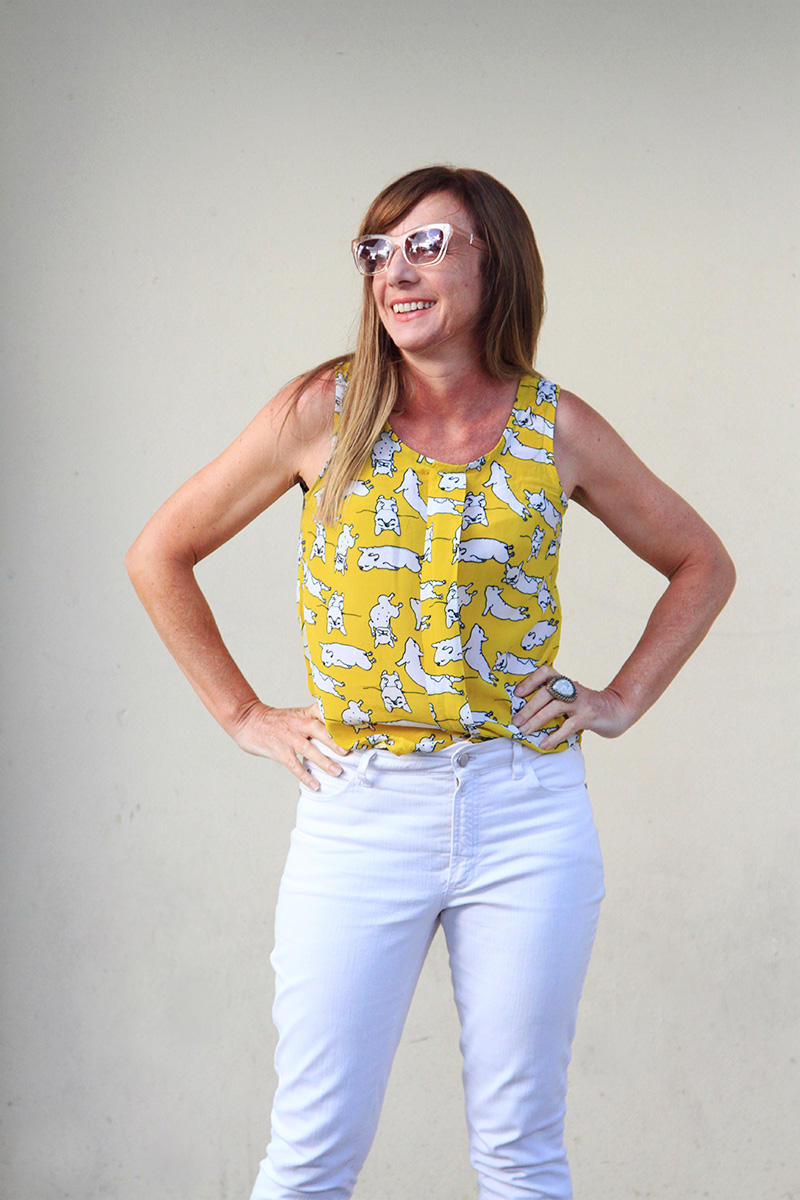
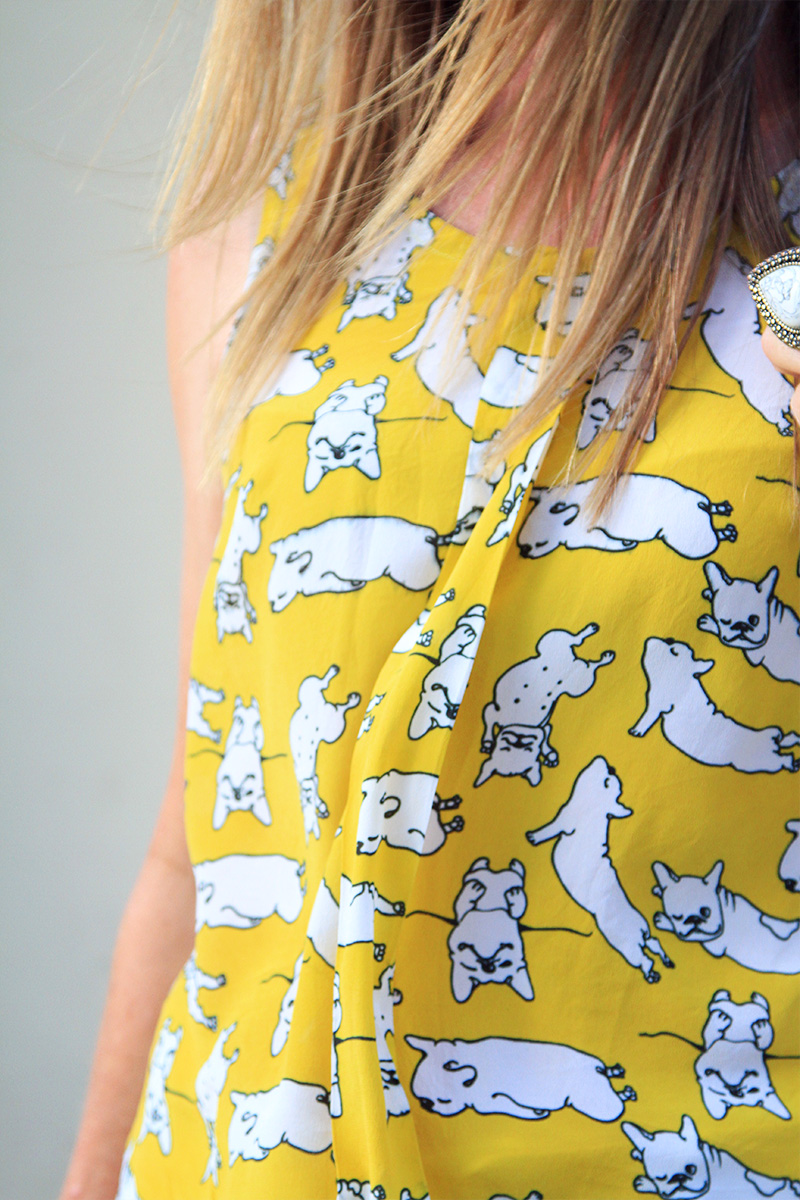
Back to the review… I searched the hashtag and found so many cute versions of the Sorbetto top. Most versions have been made up in lightweight cotton which is perfect and the pattern recommends lightweight to medium weight fabrics such as cotton voile, lawn, silk, rayon challis, or polyester. The fabric I chose for this project is a beautiful silk with a French Bulldog print from Darn Cheap Fabrics. Now, don’t be fooled by the Darn Cheap title, this silk was a little exy at $50 per meter, however, it is silk and I only needed a meter so $50 for a silk top is pretty reasonable I think…(still trying to convince myself).
For a beginner, working out your yardage might be a little daunting. As the pattern covers a larger size range and so many different versions, there is a lot to look at. It also covers both metric and imperial which is fantastic but for a beginner, but a lot to take in. Just decide which version, pick either metric or imperial and focus on that alone. For my version (version1) I only needed one meter, perfect if you are looking at using up some of your stash!
Before cutting out your fashion fabric, make sure you sew it up in a cheap fabric first to check the dart placement. If you are a beginner, this is called a toile or muslin. You don’t have to sew all the binding and hems etc, just the darts, shoulder and side seams and you can eliminate the center front pleat for the purpose of fitting. You will need to check that the dart is sitting inline with the apex of your bust (your nipple) and ends approx 2cm before it. My dart was way above my nipple and was way too short. I have a longer shoulder to bust point than average however, most of my students had the same issue when we made our first toile. I have also read several reviews where they have had the same problem, so definitely worth sewing a toile first.
The pattern layout is easy however, the front piece for a beginner is a little confusing. If you want to eliminate the pleat, you will need to fold the pattern piece that says “place on fold of fabric to eliminate pleat” and make this your center front otherwise ignore this line. A few of my students got a little mixed up with this line thinking that it was the stitch line for the pleat. Also, make sure you transfer the “fold line” for the pleat with chalk or thread tracing as this will be stitched later.
The instructions show you how to sew the binding so that it is visible on the outside of the garment. After checking out the #sorbettotop hashtag I decided on having the binding on the inside as I think the contrast binding looks a bit cluncky on the outside. It really depends on what type of look you are going for.
All up, the written and illustrated instructions are really clear and easy to follow, absolutely perfect for a beginner. I haven’t sewn the short sleeve or longer version, but I’ve read through the instructions and it is so well written. Just be really careful with the pleat at the front and make sure you sew on the correct line which you marked earlier.
This pattern is FREE! So why not have a go at it, especially if you have a spare meter of fabric in your stash that you’ve been wondering what to do with. It’s great to see a free pattern with such comprehensive instructions.
I have worn this top so much over summer, I just love it. For this photo shoot I teamed my Frenchy Sorbetto top up with my Ginger Jeans by Closet Case patterns. I teach a workshop with the Ginger Jeans so I’ll be adding my review on those soon.
Happy Sewing!
Annie x