
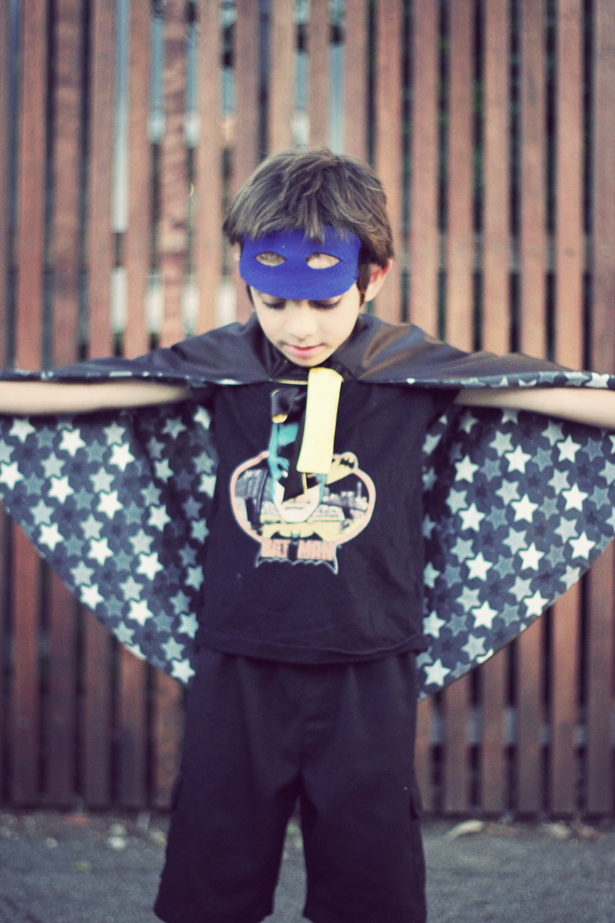
My challenge today was to create a Batman outfit in roughly two hours. Why? Because I promised my son that I would buy him a new Batman outfit for not crying when I dropped him off at School. Poor little fella, he just started Prep this year and has not been coping very well at all. I’ve been using lots of bribes and this one seemed to work. One small problem though, it was one o’clock already and I hadn’t got out to the shops to buy him his promised cape. Suddenly my little brain started ticking…I have loads of fabric and I can sew, I’ll sew him a cape before 3pm. This what I came up with.

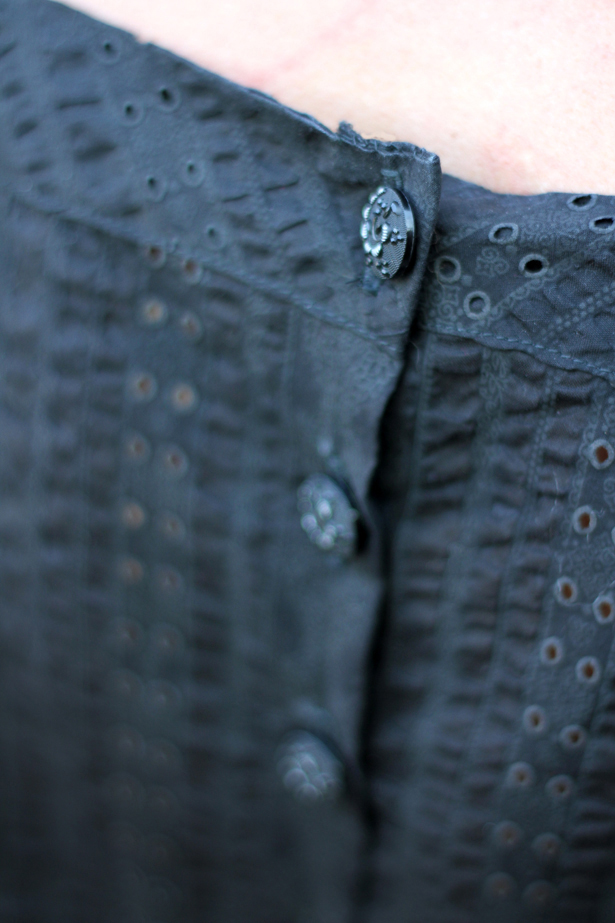
The black satin was left over lining from my RTW knock off dress


The star fabric had been in my stash for a few years waiting for the right project
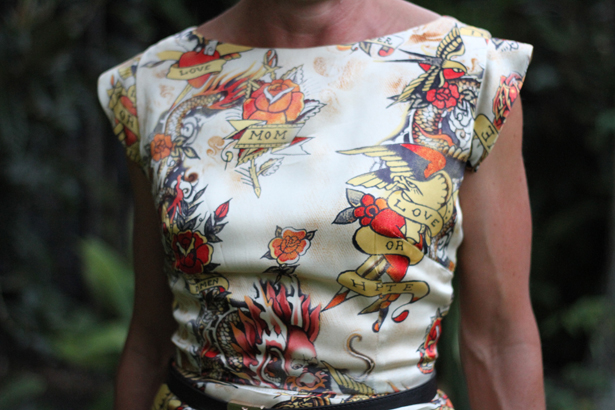
The gold satin was left over lining from my skin art dress

No more tears for this happy little Vegemite.
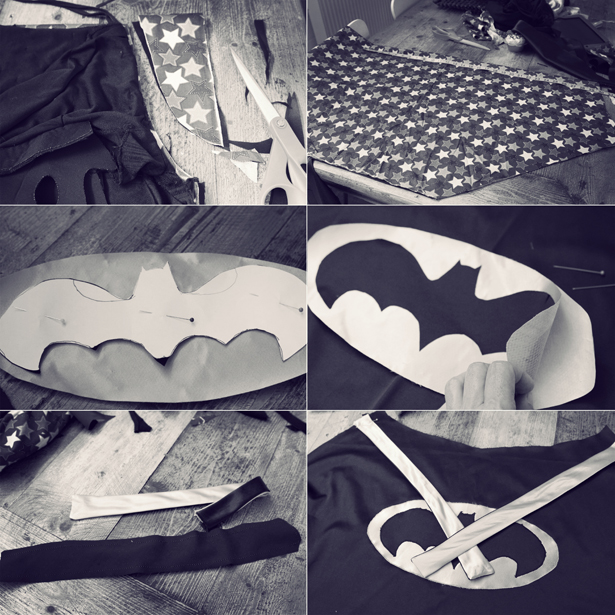
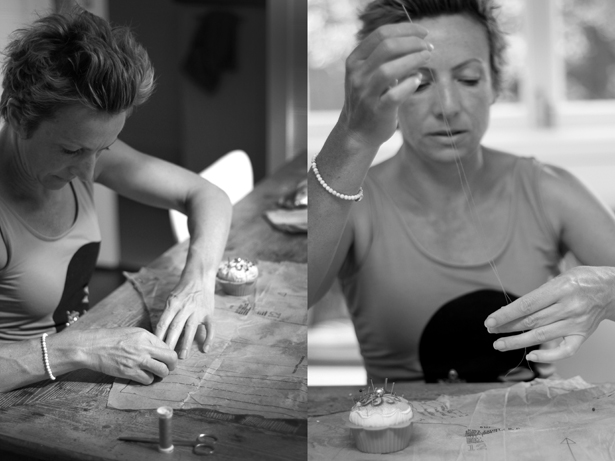
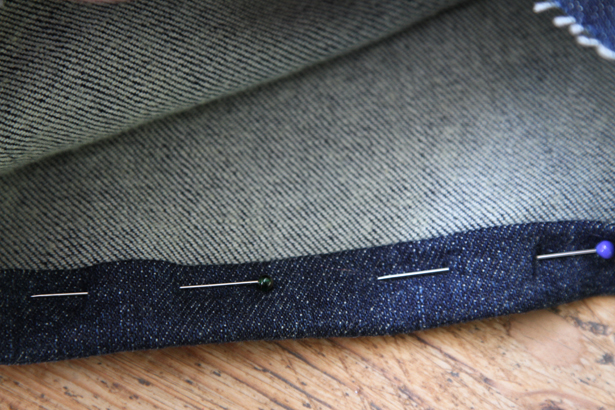
A few pics of the cape in the making.
All done, packed in my bag for School pick up.
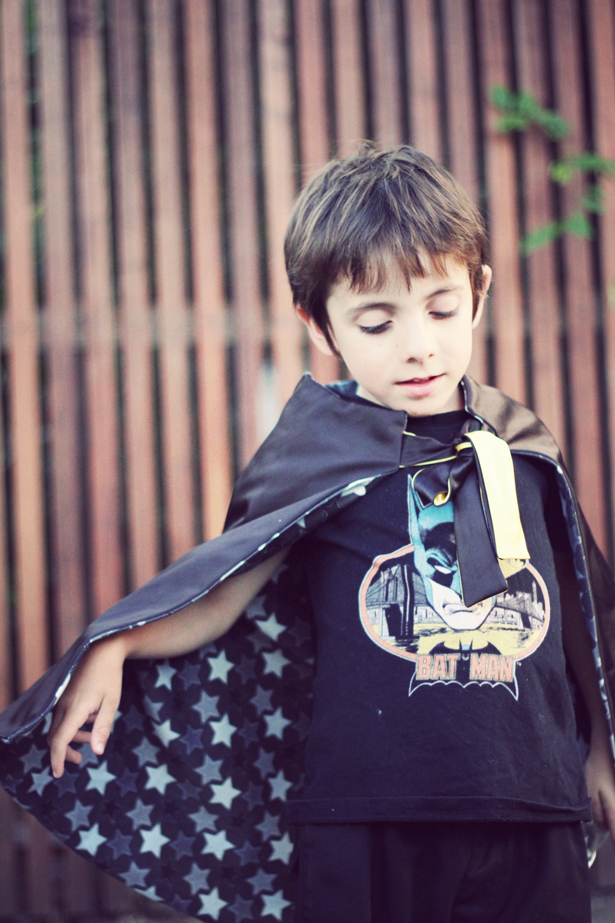
He was thrilled!
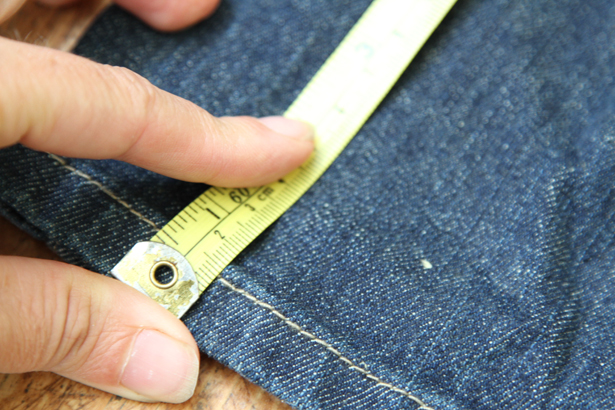
This was easy to make. Just find two pieces of fabric (about half a meter) and fold in half.
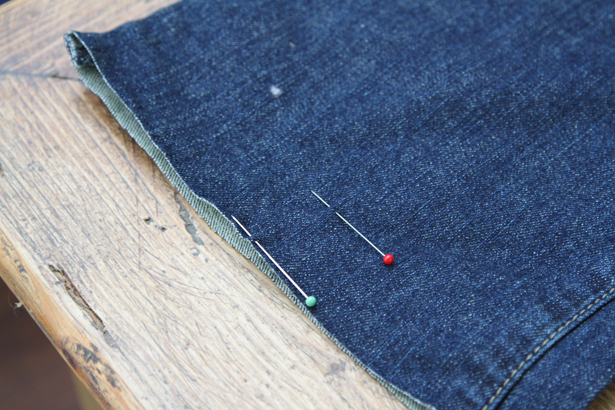
Cut a neck line on the fold. I traced off an old cape that was falling apart. Cut diagonally down from the edge of the neck line until it meets the selvages. Then cut a nice curve along the bottom.
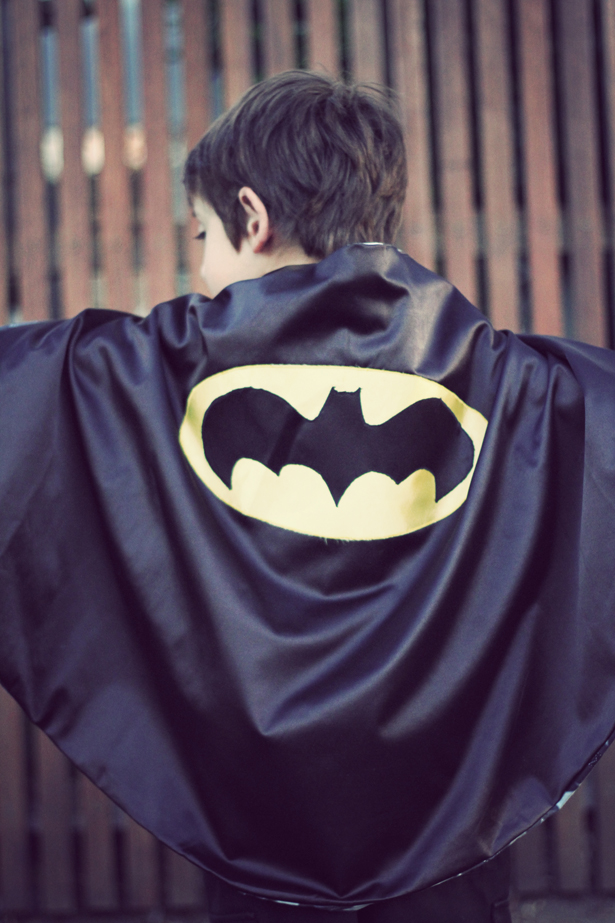
Attach your Superhero applique on the back of the cape. I traced mine using a pic from the web.
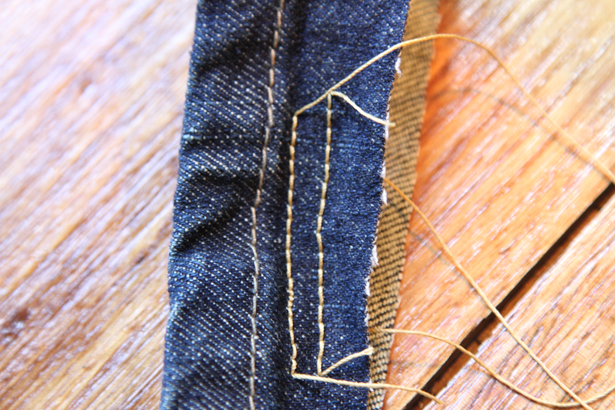
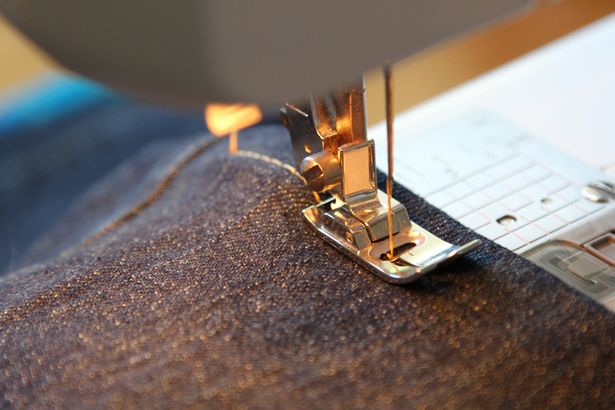
Cut and sew a couple of straps and attach by sandwiching between the cape and lining (right sides together) and then sew all the way around the cape leaving an opening to pull it back through.
Edge stitch the opening closed. Voila!


